Planning a Trip Using Google

Planning and Setting Points
I use google for every single trip I take. If I have a destination in mind, I’ll start out by googling “top hikes” or “top things to see” in the area to research what each location has to offer. Once I have found a hike I want to do or a place that I want to see, I’ll mark it on my google map in the app. I’ll mark as many points as I want so that I can start to look at the distance between each one to either plan a day trip or an overnight trip. So how do you mark different points? Let’s use my google map for the Olympic Peninsula in Washington as an example.
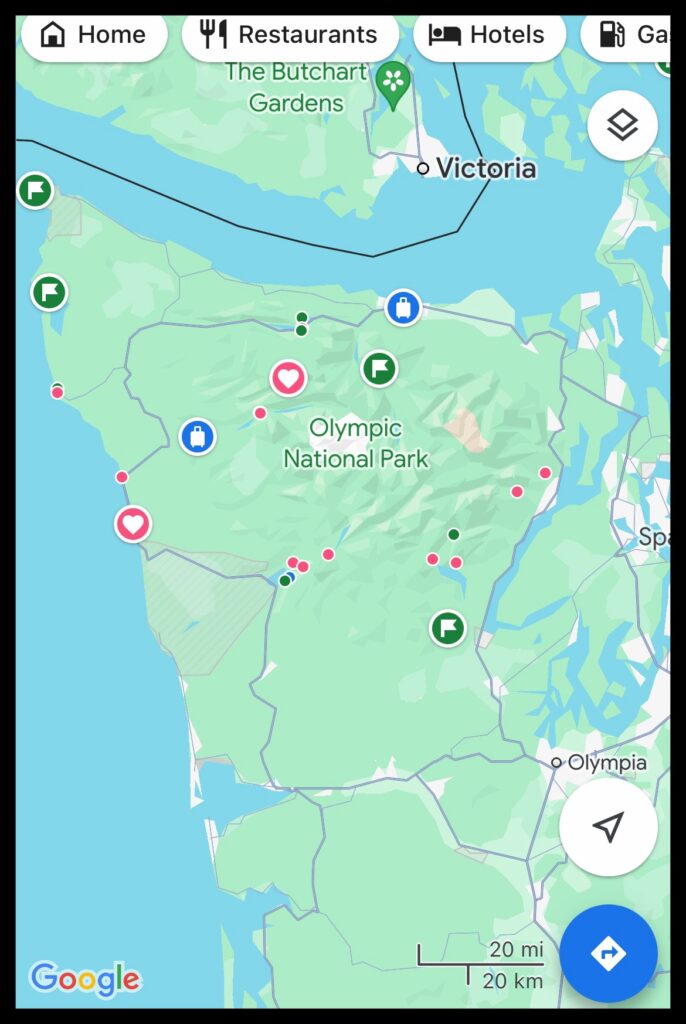
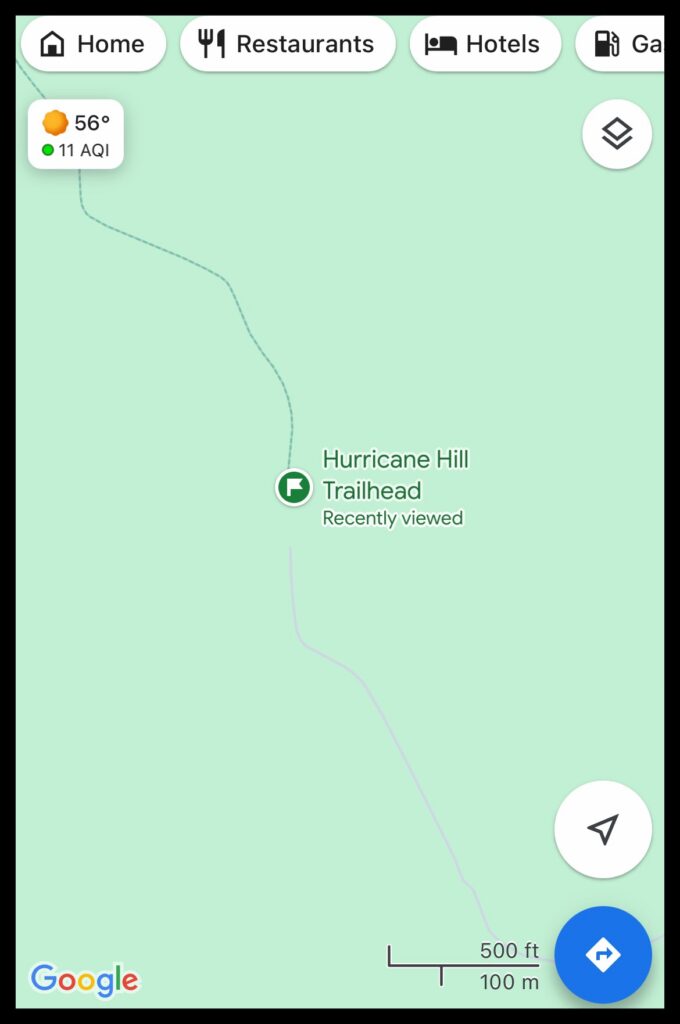
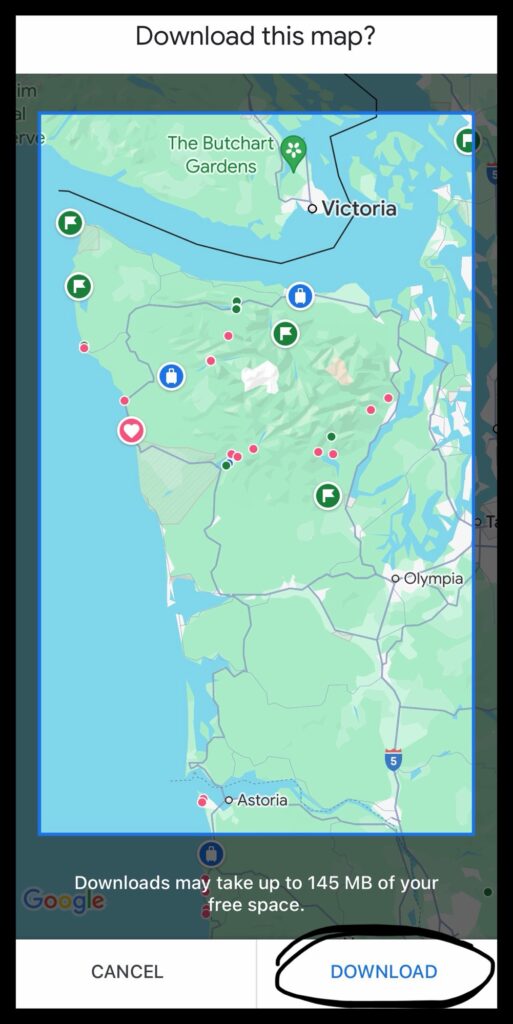
The green flags/points represent places I want to go or hikes that I want to do while the pink hearts/points represent places I’ve seen or hikes I’ve already completed. The blue suitcases represent places where I am staying for the night. I know that there is a way to use canva and other graphic design sites to customize these points even further with different pictures and cute symbols, but I like to keep things simple. Feel free to make your symbols something else, this is just what I prefer. To mark a point, you first have to search for it in google maps. One hike that I haven’t done yet on the Olympic Peninsula is Hurricane Hill. After finding Hurrican Hill in google maps, there is an option under the description to “save” it.
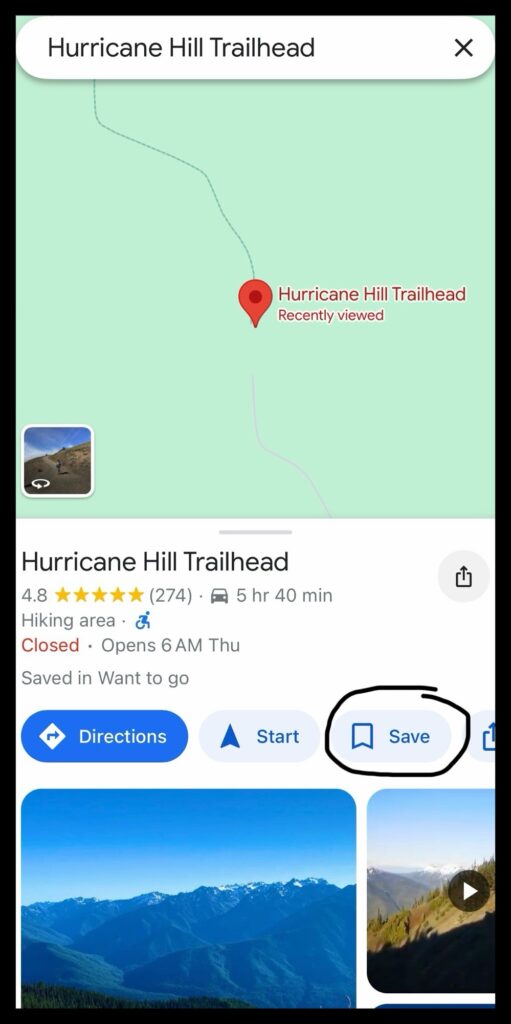
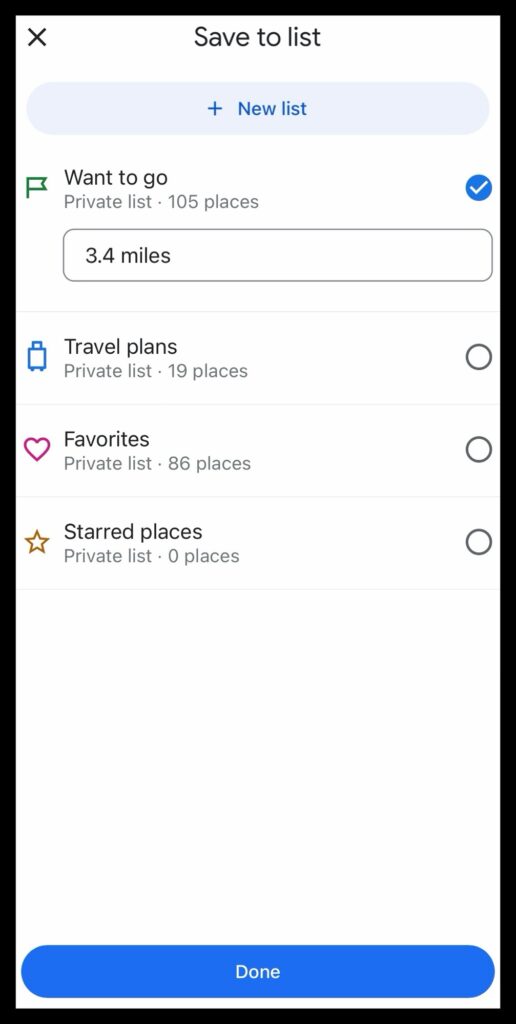
Once you click on “save”, a “save to list” window will open. You can then pick whichever category you want to save it under. I saved it under my “want to go” list so that it appears as a green flag on my map. Once you select the list you want to save it under, there is an option to add a note under it. If the point is a hike, I’ll usually include how long it is or other notes. Make sure you hit done at the bottom otherwise the point won’t save on your map.
If you followed all of these steps, then your point will show up on your map!
Offline Map
While you can reference your map whenever you have cell service, there will be areas that you travel to that won’t have service. So how do you look at your map when you don’t have service? You download an offline map onto your phone that replicates your google map. I use this feature every single time I travel because I’d rather have a backup map in case something happens. There are other offline map apps that you can use that are more trail specific and whatnot, but google has worked for me so far. All I need to know is how to be able to navigate around an area in my car. I haven’t had to use an offline trail map in my many years of hiking because I research each trail beforehand.
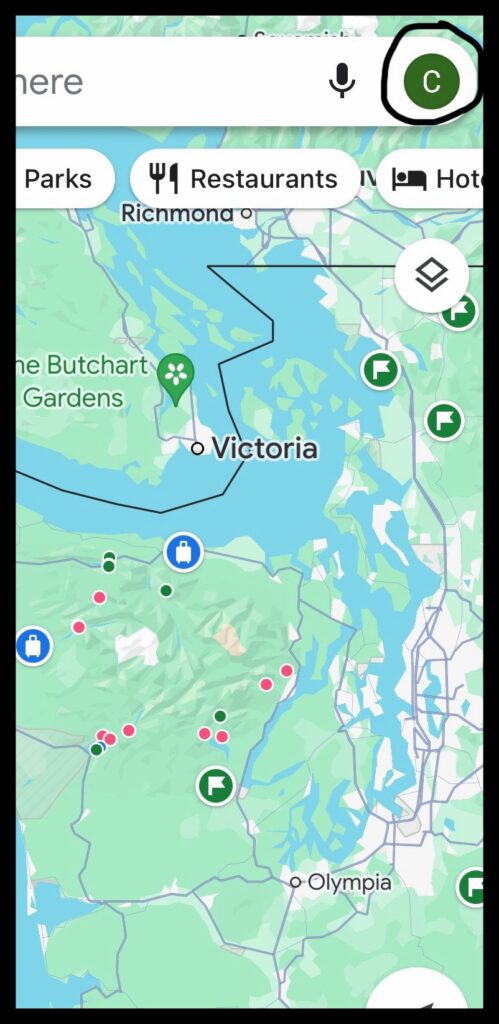
Downloading an offline map in the google maps app on your phone is very simple. First, open up google maps and click on your profile in the upper righthand corner.
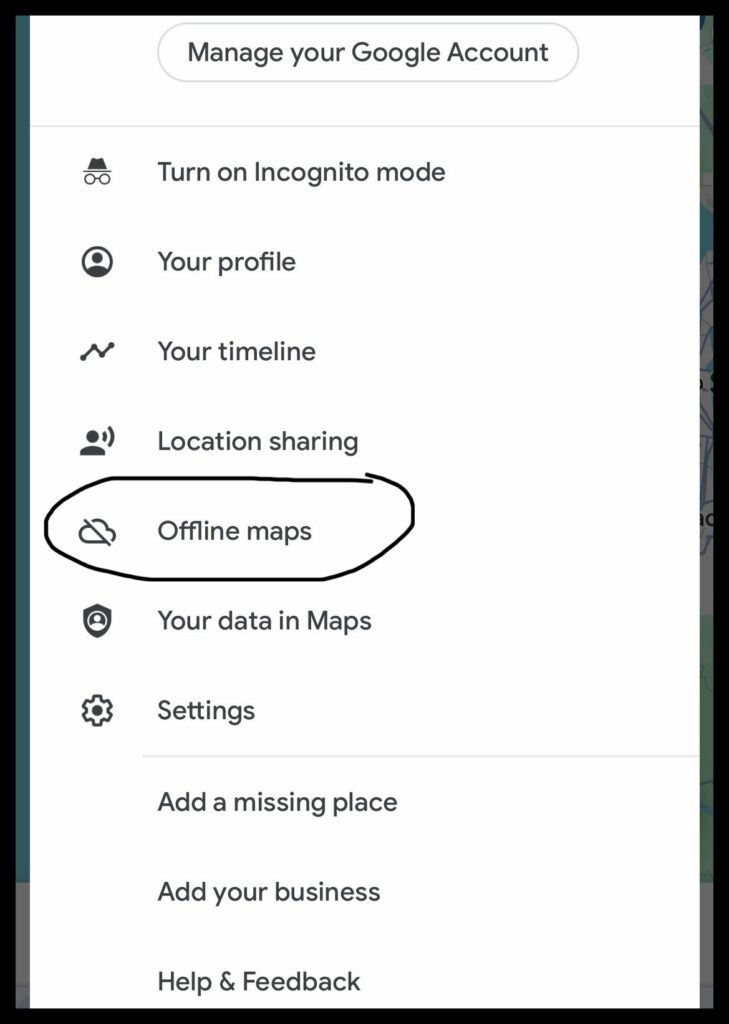
Look for “offline maps” under the menu selection.
Click on “select your own map”.
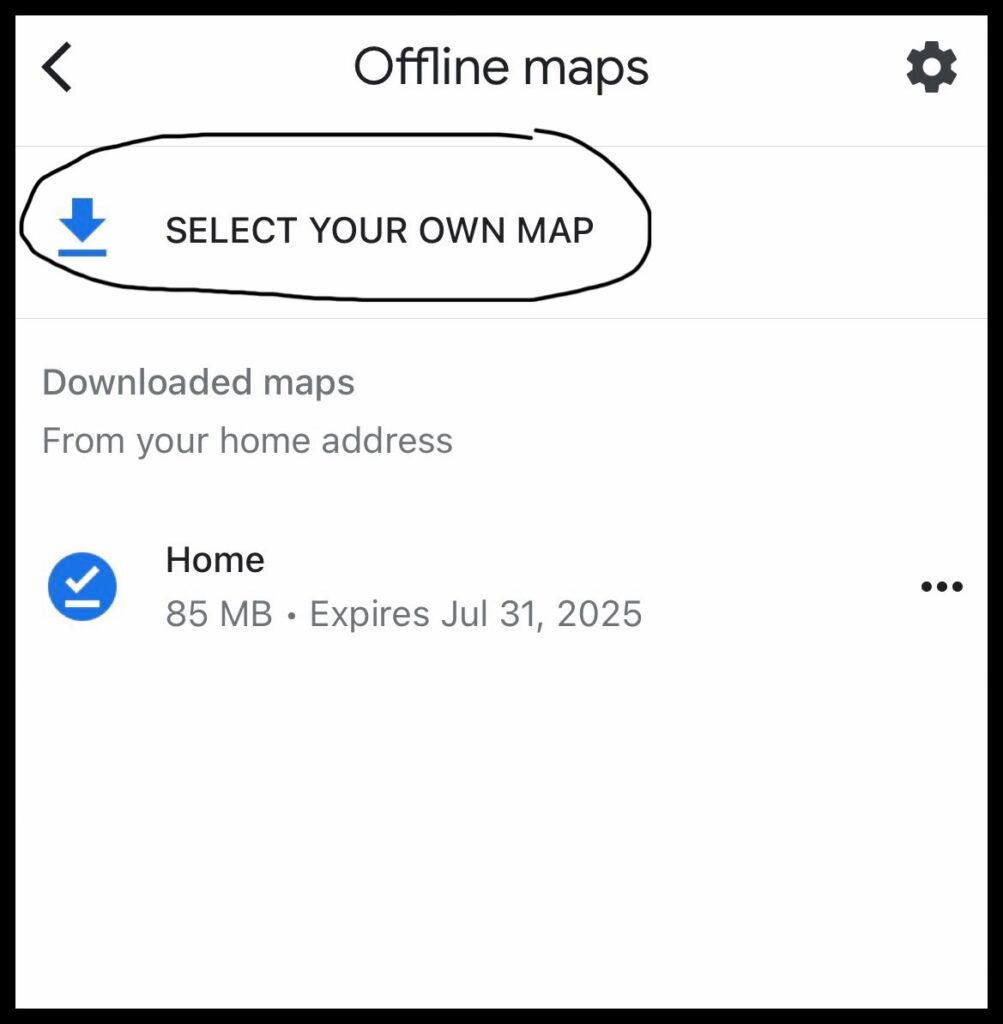
After clicking on “select your own map”, google maps will open with a box. This allows you to move around the entire world and put a section of it into this box. While the box downloads a good portion of an area, it does have limitations. When I downloaded a map of Iceland, I was not able to select the entire country because it was too big. Instead, I had to split up the country into three different maps. If the area you selected is too large, then a warning should pop up letting you know that you need to make your map smaller. Once you have your area selected, all you have to press is “download” in the lower righthand corner.
To access your map, you have to go back to the “offline maps” option under your profile. Your map will show up in the list under this section. You can download multiple maps, but they do take up some storage in your phone. I don’t keep maps saved on my phone unless I know I am going to be using them. I usually delete them after each trip.
