Guide to Mount Rainier National Park
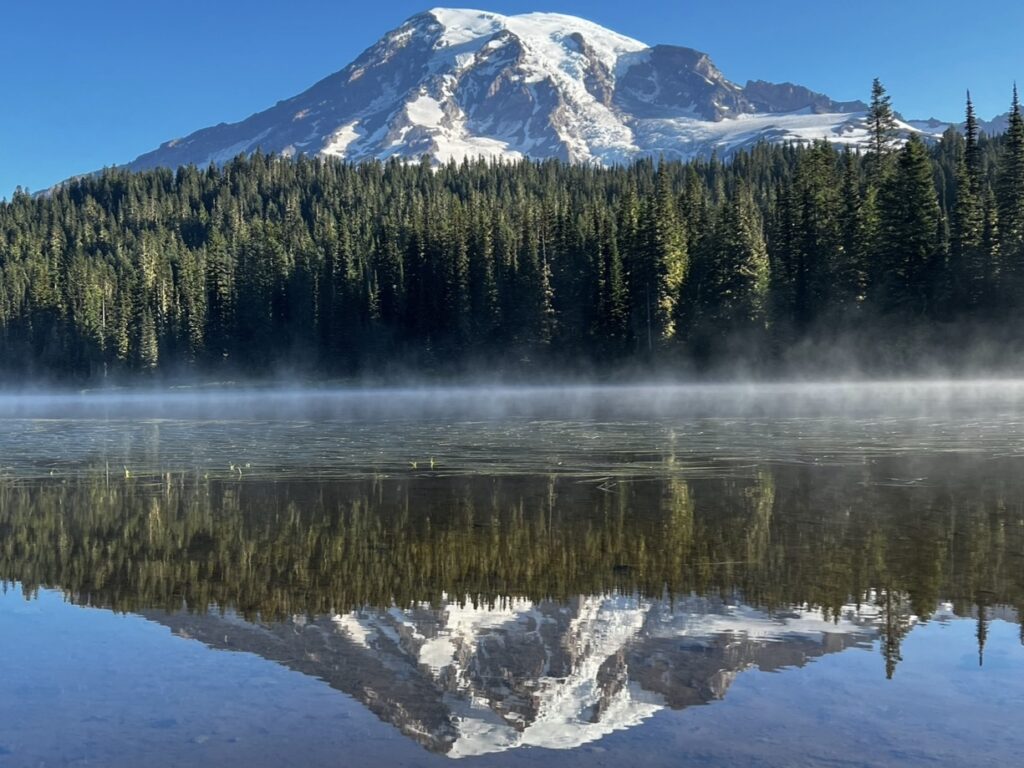
Mount Rainier is a 14,409ft tall active stratovolcano located along the Cascade Range in Washington State. On clear days, you can see Mount Rainier from hundreds of miles away. In 1899, Mount Rainier became the fifth national park in the U.S. after businessmen, scientists, teachers, mountain climbers, and ecologists united their efforts to lobby Congress to protect Mount Rainier as a national park. Today, Mount Rainier National Park receives about 2 million visitors every year. Even in the past few years, there has been a large increase of visitors. To help mitigate the influx of crowds, timed entry reservations were introduced during peak times in two sections of the park in 2024. You can read more about this here.
Although I have been to Mount Rainier National Park three times, I still feel like I have barely begun to scratch its surface. There are a whopping 158 trails in this national park, and I have only hiked a small fraction of this. The park has five sections: Longmire, Paradise, Sunrise, Ohanapecosh, and Carbon River/Mowich. Paradise and Sunrise are the two most popular areas because they are home to some of the park’s more iconic sites, hiking trails, and wildflower meadows. I have been to Longmire, Paradise, Sunrise, and Ohanapecosh and plan to explore Carbon River/Mowich in the future. This post will focus on these four sections and a couple of hikes that are technically not part of the park but are extremely close to it and worth a visit. The hikes that I have completed in Mount Rainier National Park are:
- Skyline Trail
- Reflection Lake
- Pinnacle Peak Trail
- Naches Peak Loop Trail & Tipsoo Lake
- Bench & Snow Lakes Trail
- Silver Falls Loop Trail
- Union Creek Falls
Be aware that there is no cell service in a majority of the park. You will sometimes randomly get service, but is inconsistent and very spotty. Make sure you download a map or carry a physical one with you and mark trailheads you are going to beforehand.
Where to Stay
Each time that I’ve been to Mount Rainier National Park, I’ve stayed somewhere different. The first time that I went I did not plan ahead. I assumed that I would be able to show up to a hotel or campground and have a place to sleep for the night. And boy was I WRONG. Lodging and camping spots can fill up fast (especially in the peak months of July and August), so be sure to book your trip a couple months in advance. I have never stayed at the lodges or inns inside the park because I feel like they are extremely overpriced for what they have to offer. Their only perk is easy access to trails, which isn’t enough of a selling point to me. I’m willing to drive a little further to stay somewhere nicer or cheaper. There are plenty of cheap campsites in and around the park and other lodging options outside of the park in the small surrounding towns.
My first visit to Mount Rainier turned into a day trip even though I had planned to spend the night. When I got there, all surrounding hotels and campgrounds were full. I was told by campground staff that I could camp along Skate Creek Rd (also known as NF-52) near Ashford for free. The thought of camping for free was appealing, but once I parked my car to sleep in it for the night and the sun set, I immediately got scared and left. I was by myself and had never camped in my car before. My next two trips to Mount Rainier were planned well in advance, as I had learned my lesson. I booked a tent site at Ohanapecosh Campground my second visit and stayed at Wellspring Spa and Woodland Retreat for my third.
wildflower
Skyline Trail
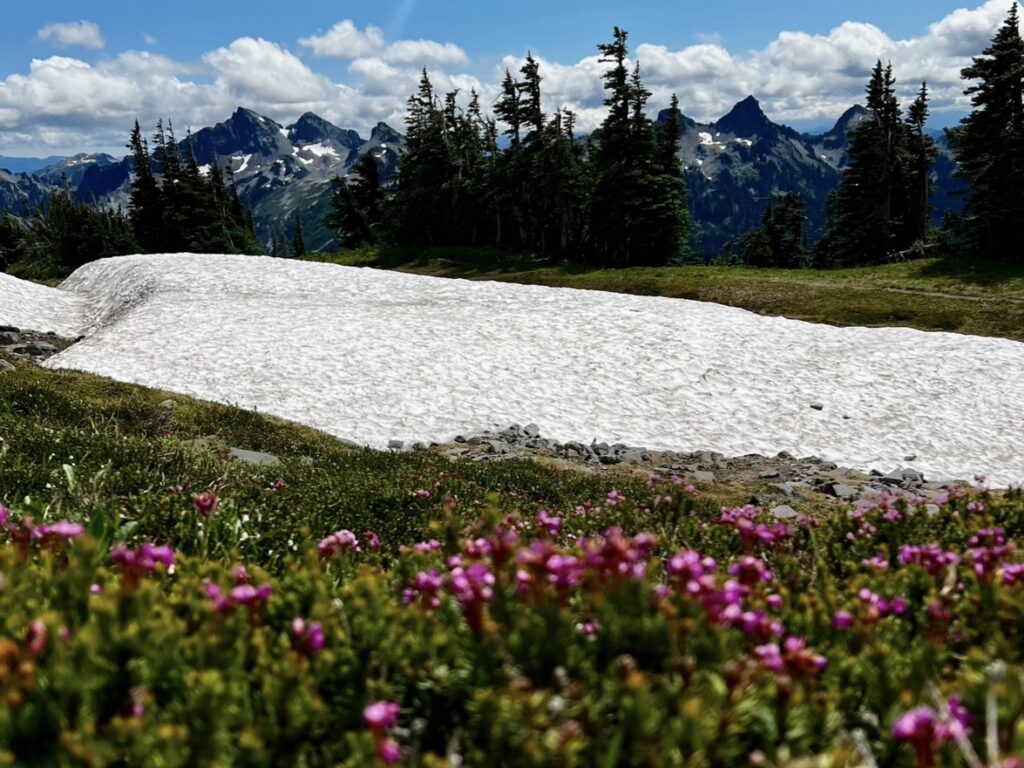
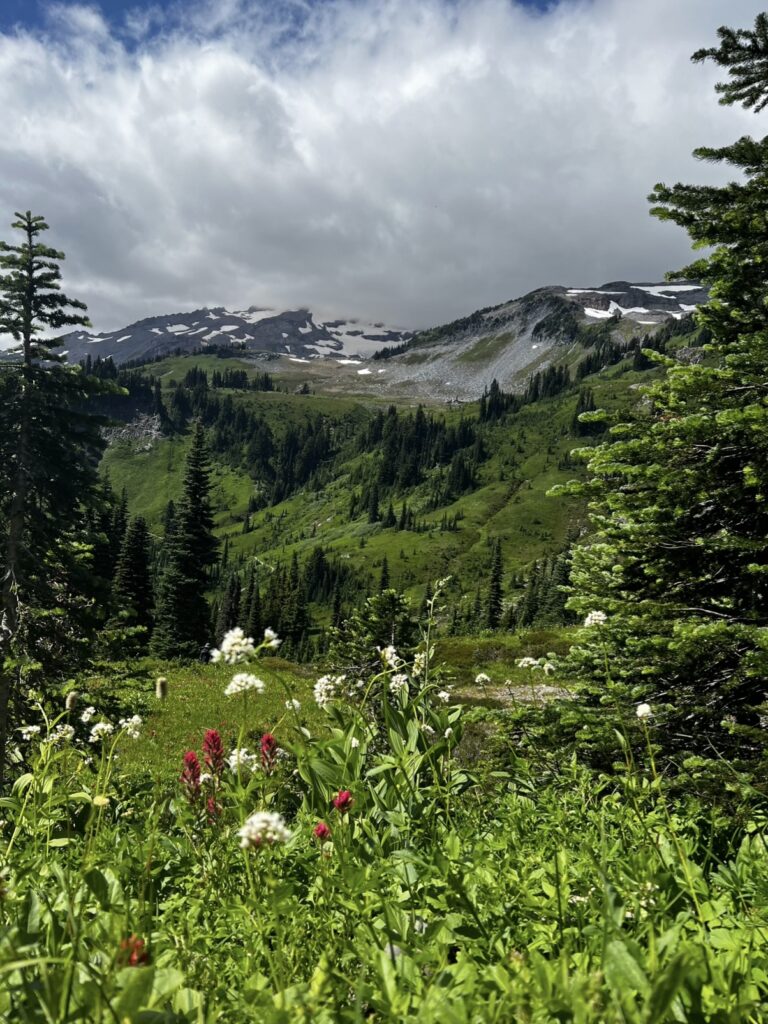
This 6ish mile loop climbs over 1,700 feet in elevation and is moderately difficult. When I hiked Skyline Trail, there were signs all over the place reminding people to say on trail to protect the wildflowers. Please listen to these signs! It is one of the most popular trails in the park, so make sure you arrive early to get a parking spot. If you only have time for one hike, I highly recommend this one. On a clear day, you will have up close and personal views of Mount Rainier, meander by wildflower fields, have a chance to see wildlife, and tromp across snow patches if you visit before late summer. When I hiked this trail, Mount Rainier was covered by clouds, so I did not get to gaze upon its majesticness. This is usually the case if you visit the park as Mount Rainier likes to hide in the clouds more often than not. I still enjoyed my hike despite this and had the chance to focus on the beauty of other surroundings. Even though Mount Rainier was shrouded in cloud to the north, my views to the east, west, and south were unobstructed and covered in sunlight.
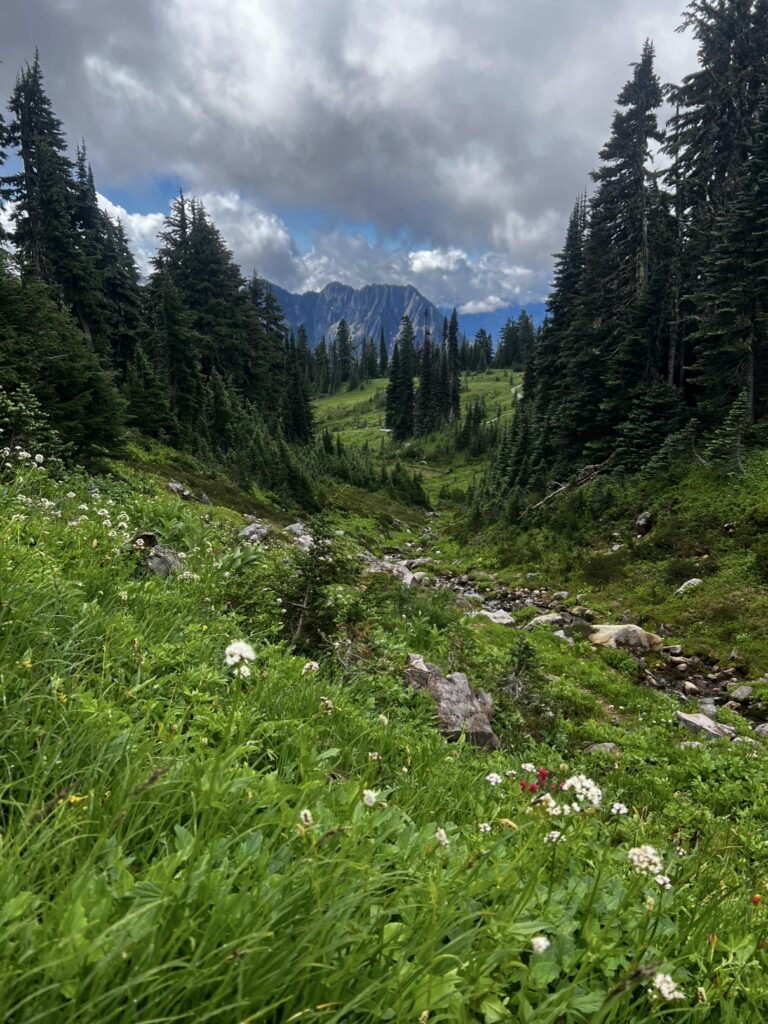
So, should you hike the loop clockwise or counterclockwise? If Mount Rainier is covered by the clouds, it honestly doesn’t really matter which direction you go. Hiking the loop counterclockwise offers a lower initial elevation grade, while clockwise offers breathtaking views throughout the hike if the mountain is visible. I opted to do the trail clockwise because I parked in the overflow parking lot. It is easier to hike the loop clockwise from this parking lot because you will meet up with Skyline Trail via the Alta Vista Trail on the southwestern side of the loop. While most of Skyline Trail isn’t too difficult, the first incline after the Alta Vista junction is no joke. The incline is paved, so it’s easy to walk on, but it is steep and tall. Once you get past this hill, the trail opens up into a large, paved area. Skyline trail continues to the north after this opening and becomes unpaved. I took a snack break here before continuing and I saw my first marmot of the day.
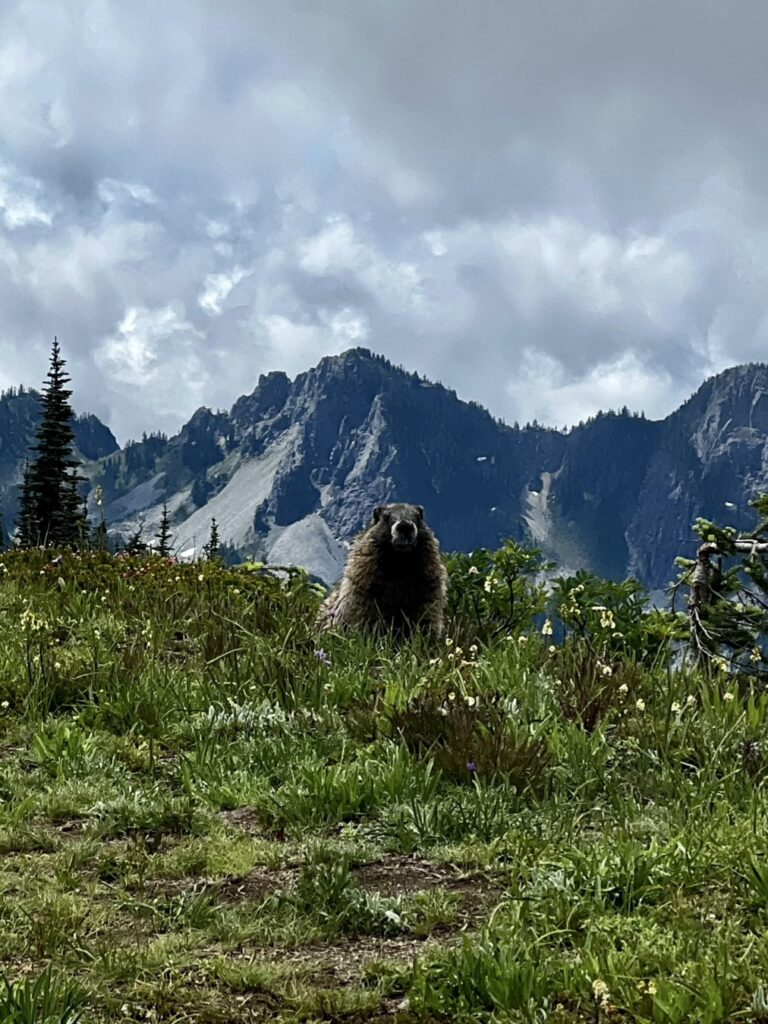
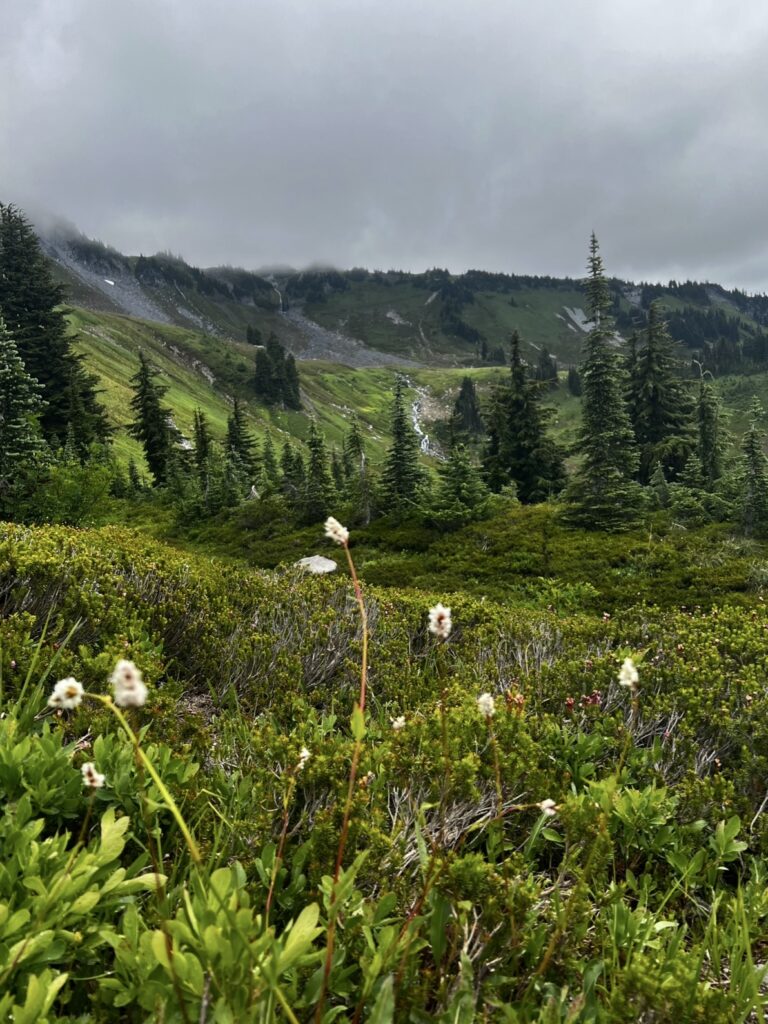
After my snack break, I continued onward. A 10-minute walk up the hill led me to a group of people gathered around a rock. I had to stop and investigate, of course. What they were watching was two marmots fighting over a rock. From listening to surrounding conversation, it sounded like the marmots had already been fighting about 15 minutes before my arrival. It was funny watching them because at certain points they would embrace and lift their heads to the sky like they were serenading each other (or screaming a war cry).
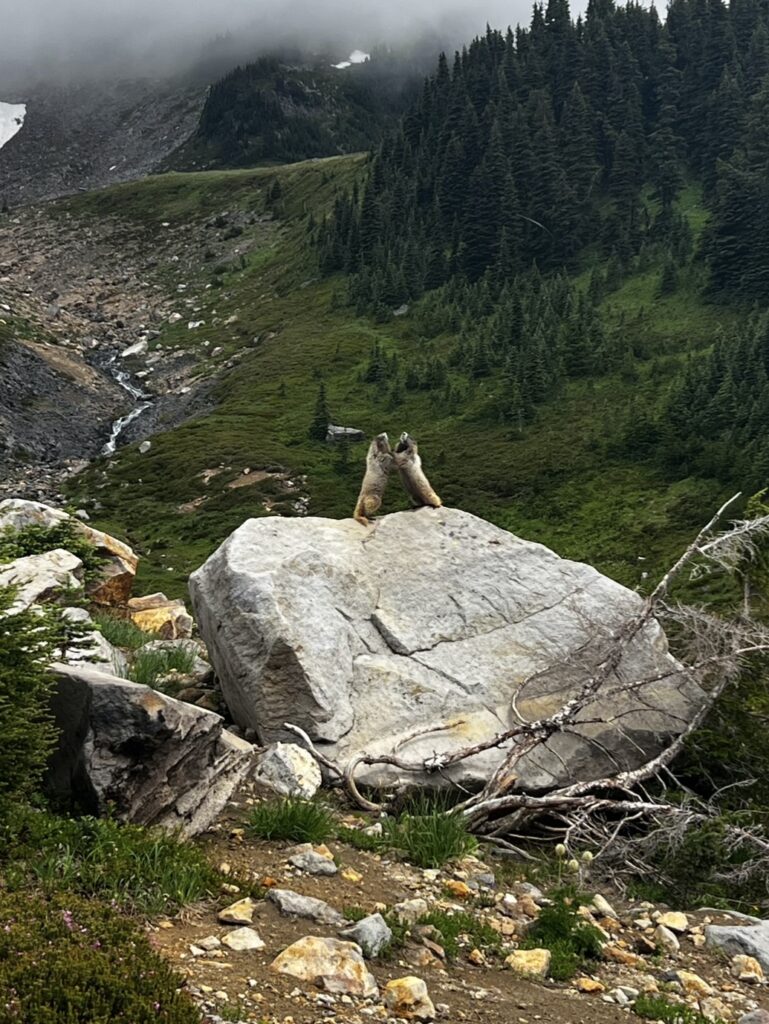
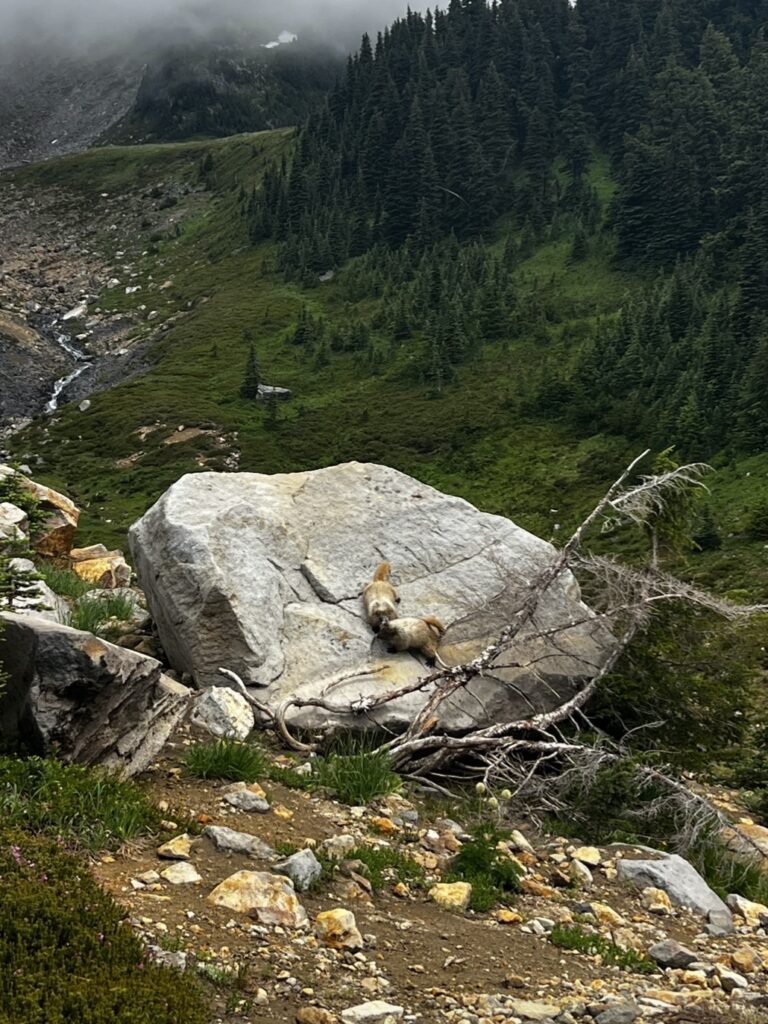
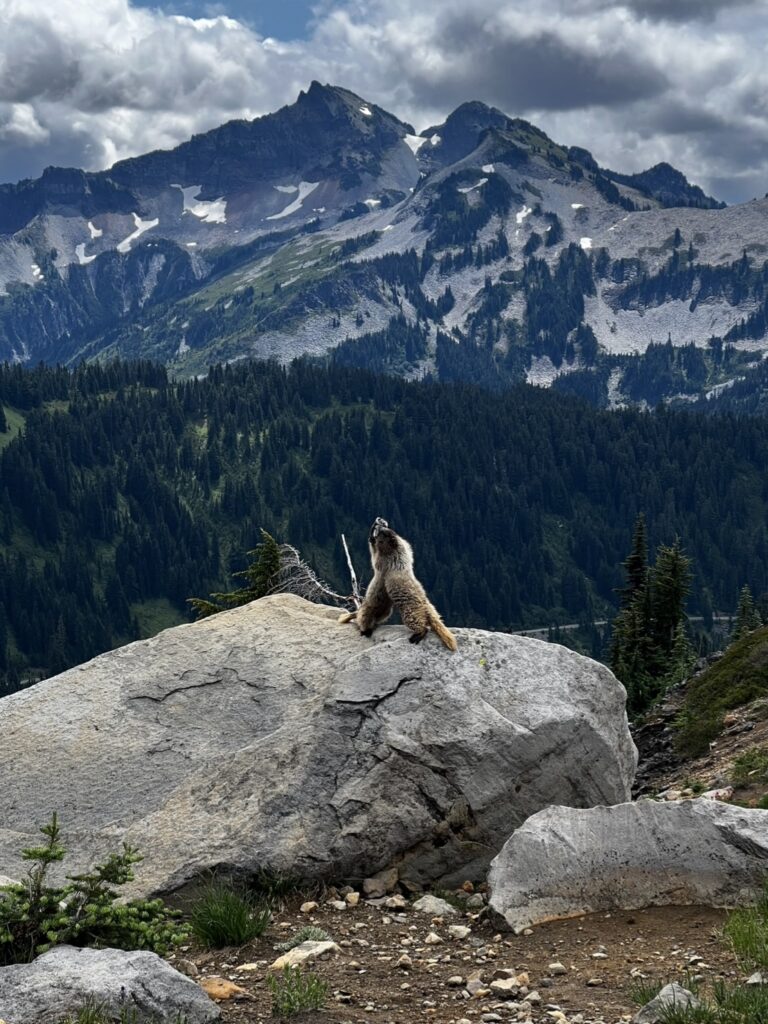
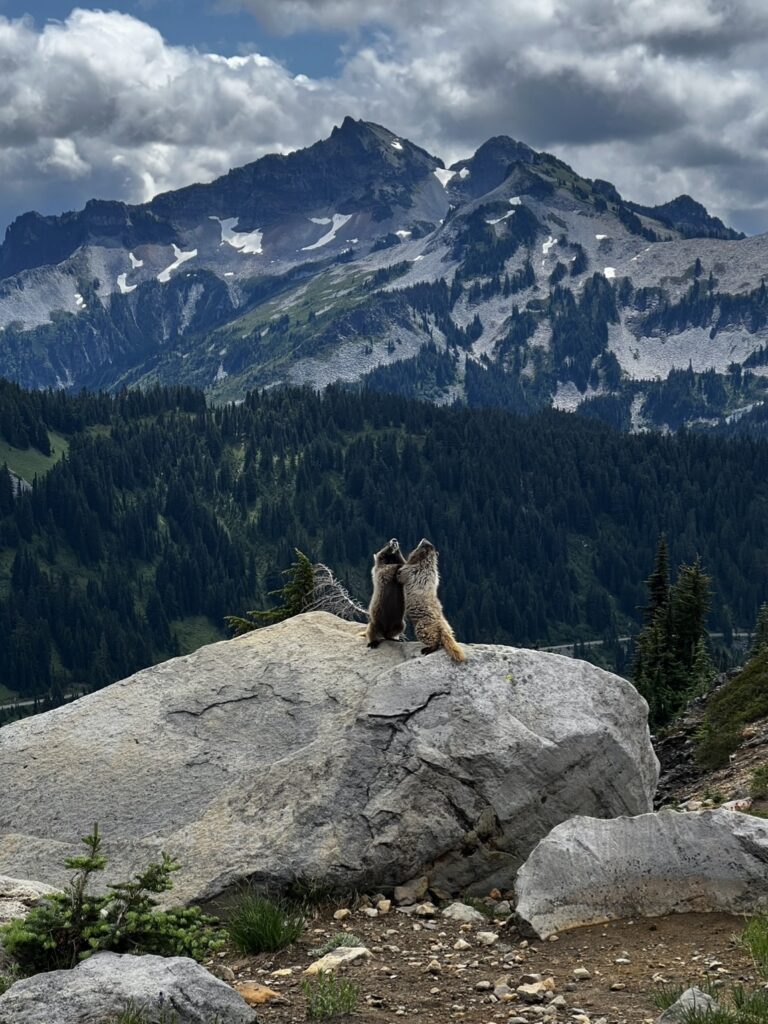
Every time one of them would get the upper hand, the surrounding crowd would cheer on the winning marmot. It was extremely entertaining and fun to watch. As much as I wanted to spend all day here, I had long journey ahead of me. Hiking further up the hill I passed many different kinds of wildflowers with Wahpenayo Peak, Plummer Peak, Pinnacle Peak, Unicorn Peak, and Stevens Peak in the distance.
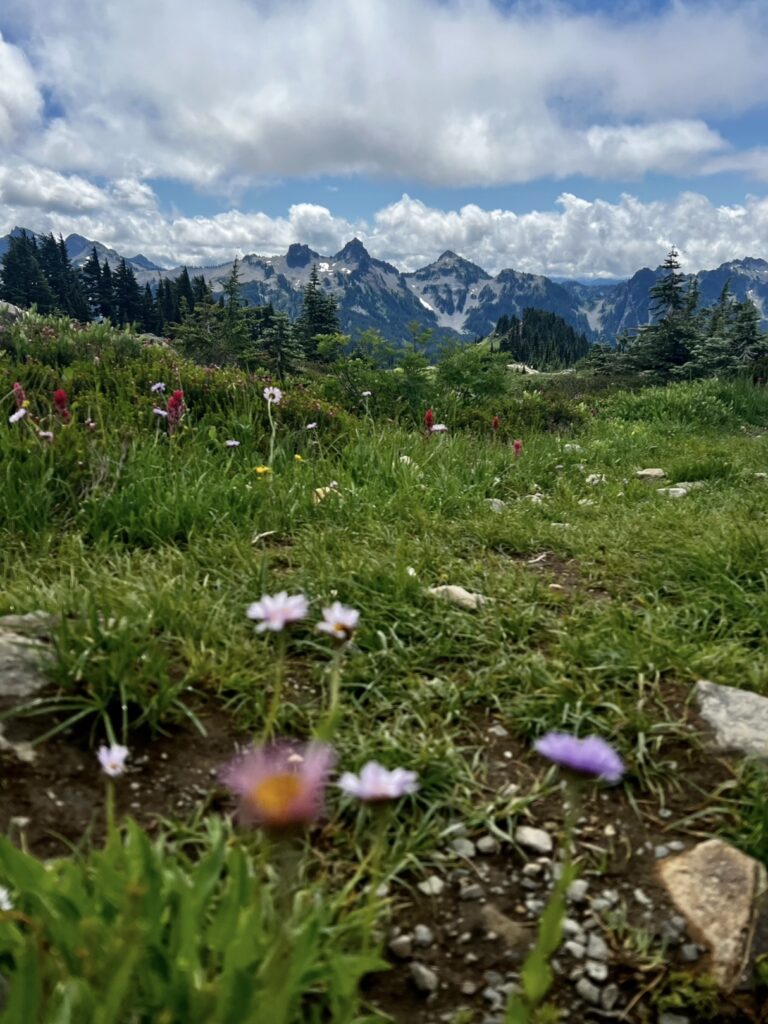
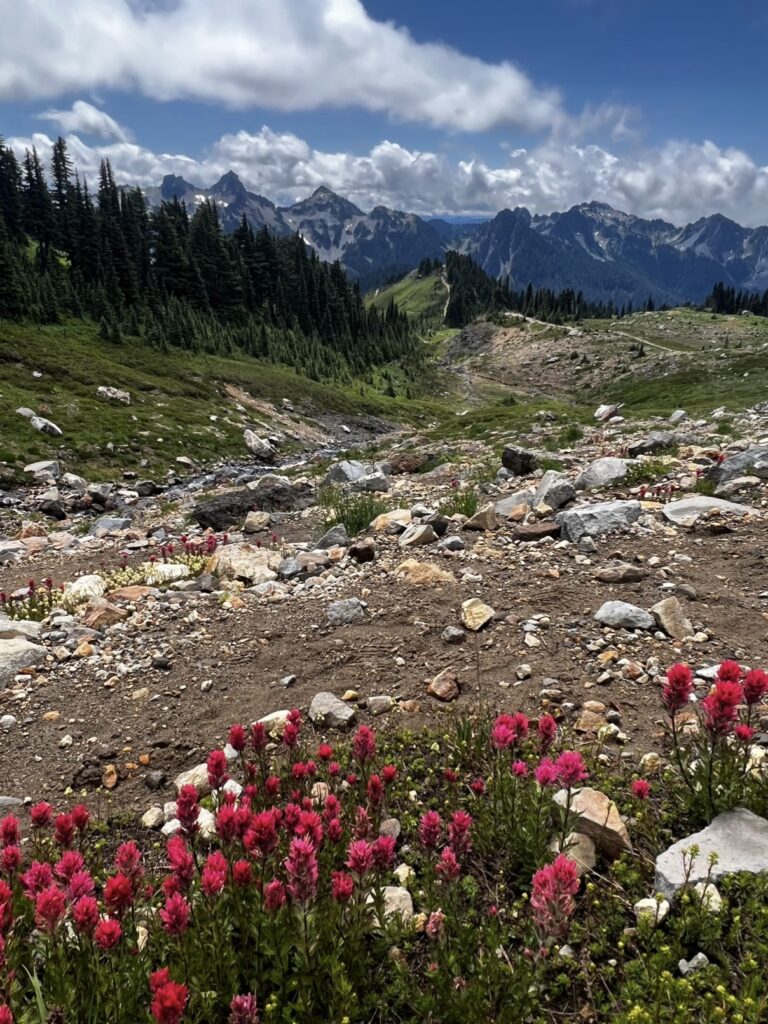
About 1 mile further up the hill I stopped at a flat area where other people were also taking a break. There were panoramic views of the valley towards the southwest entrance to the park. A waterfall could be seen cascading down from Mount Rainier from the abyss above. Mount Rainier was still stubbornly hiding in the clouds of course, but I knew it was right above this waterfall and could almost picture it.
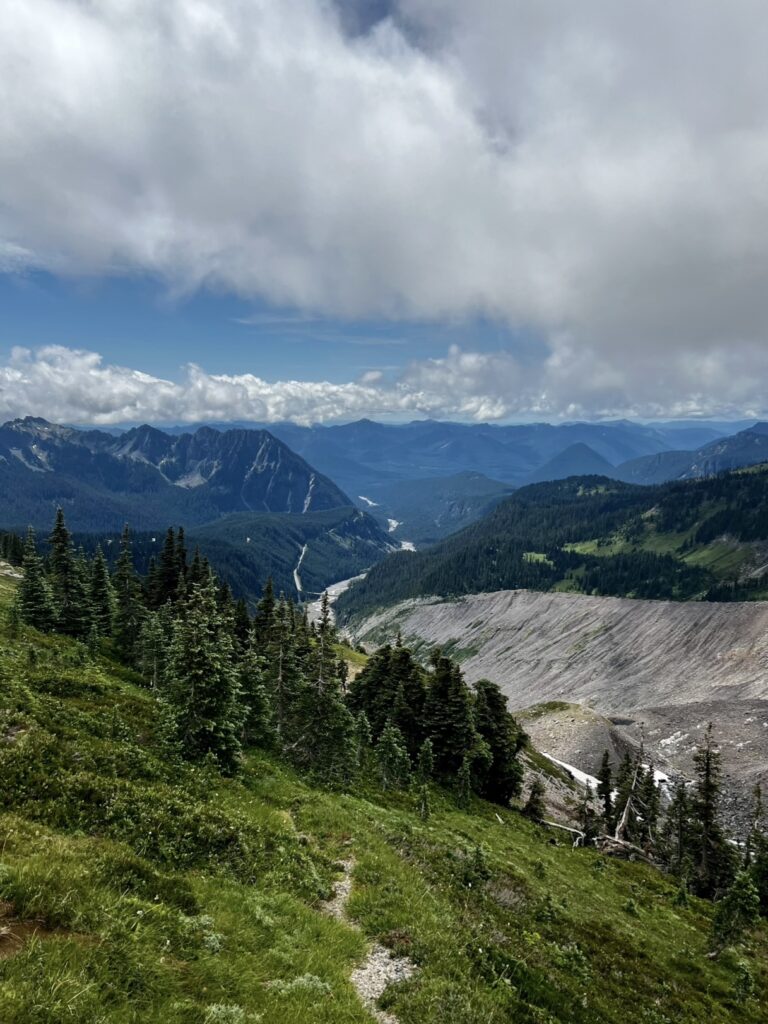
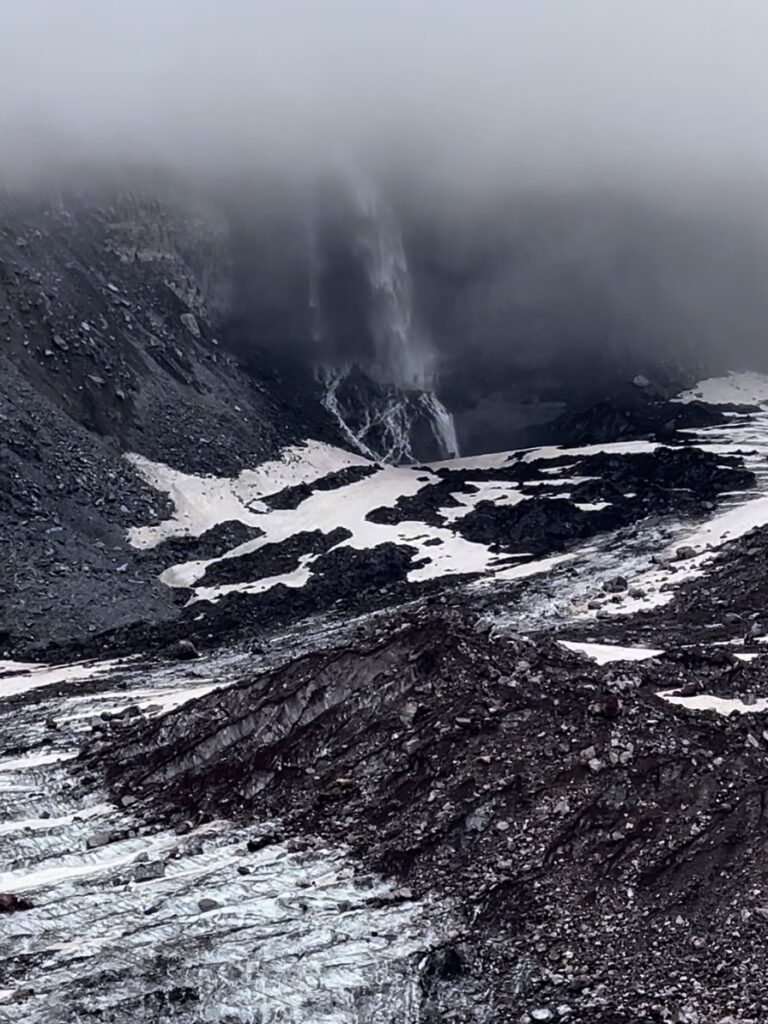
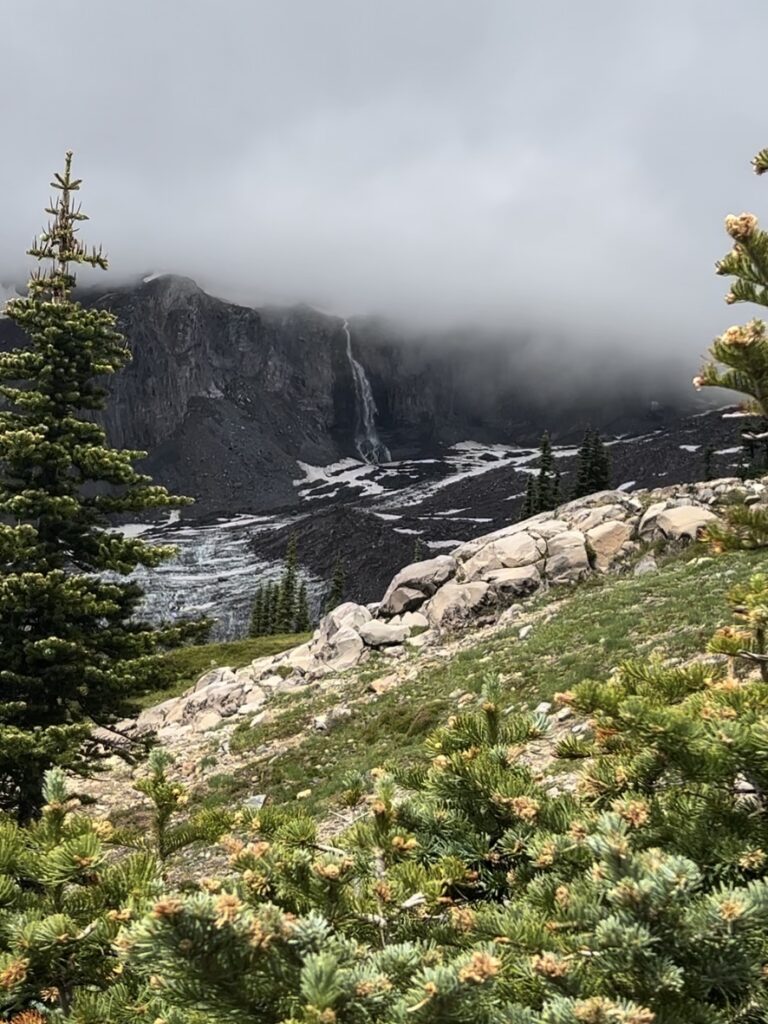
After hiking uphill for about 2.4 miles, you will finally reach Panorama Point. This is a popular spot for people to stop at and some even choose to turn around once they reach this point. The trail starts to descend after this viewpoint.
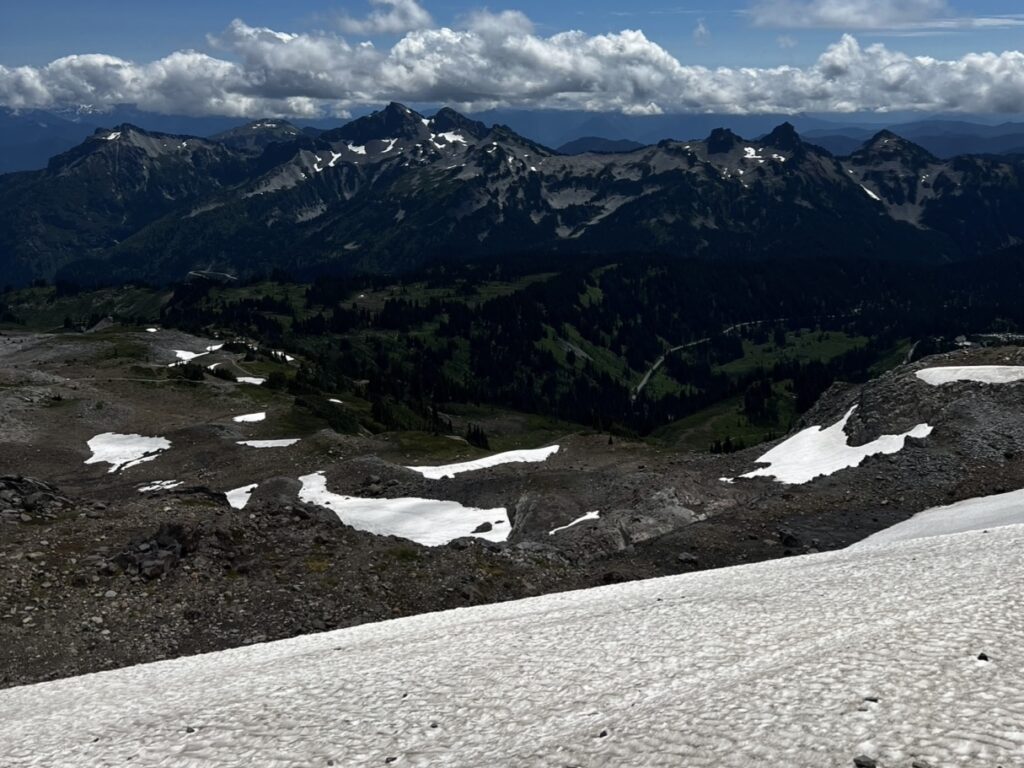
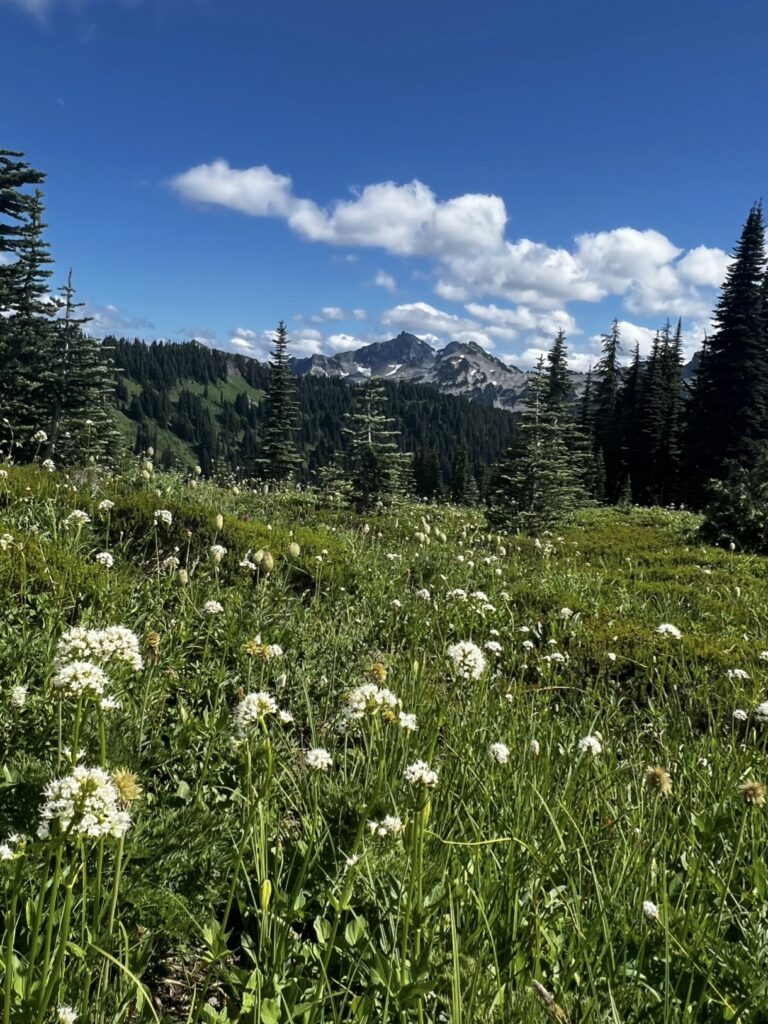
While a journey downhill may sound nice, you still have about 2.5 miles left after the viewpoint. I honestly felt like this section of the trail took longer than going uphill did. This section of the trail had less crowds, making my walk more serene. The sun started to shine more, creating a beautiful, warm environment. There was no lack of wildflowers to admire, but Mount Rainier remained hidden.
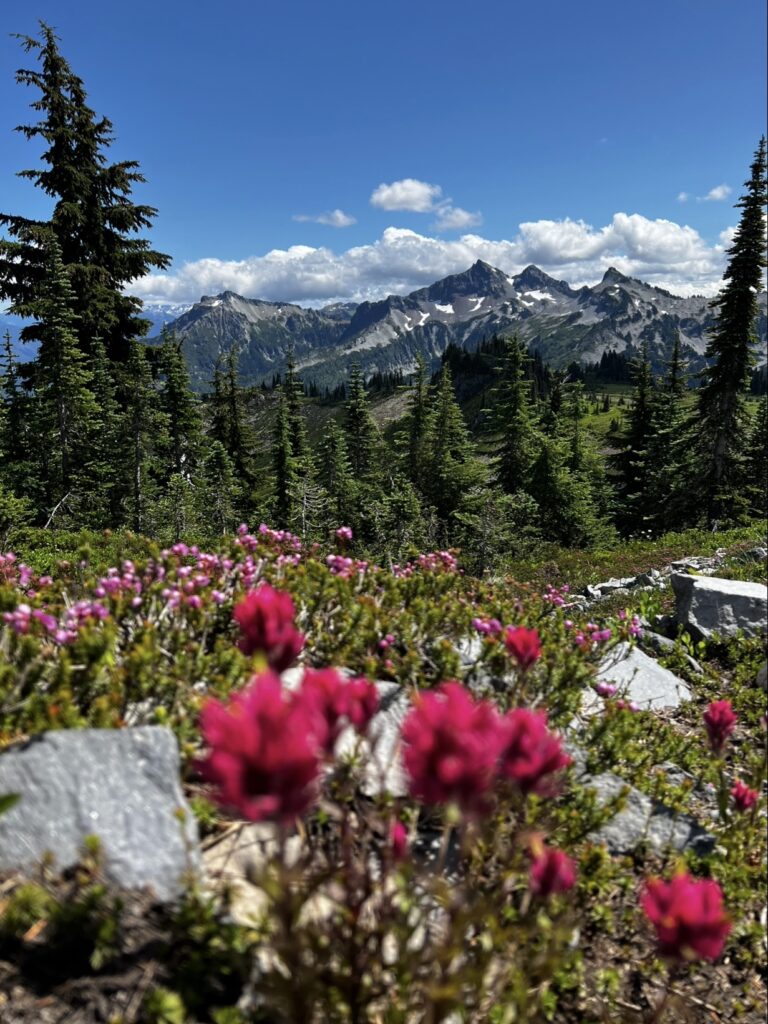
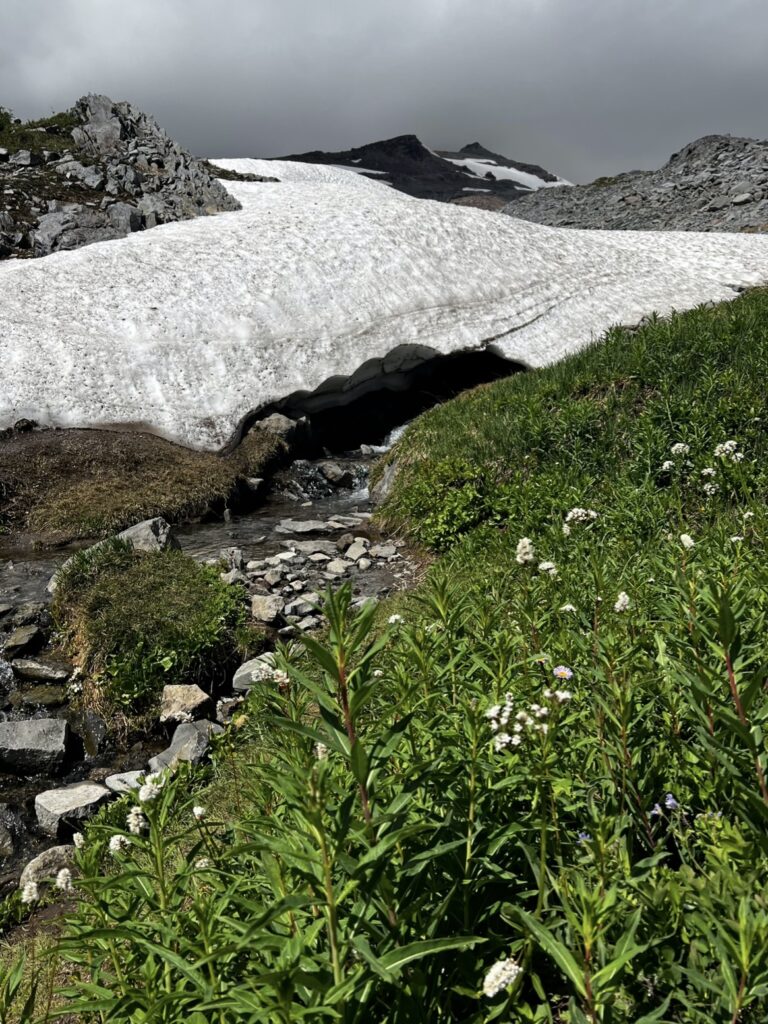
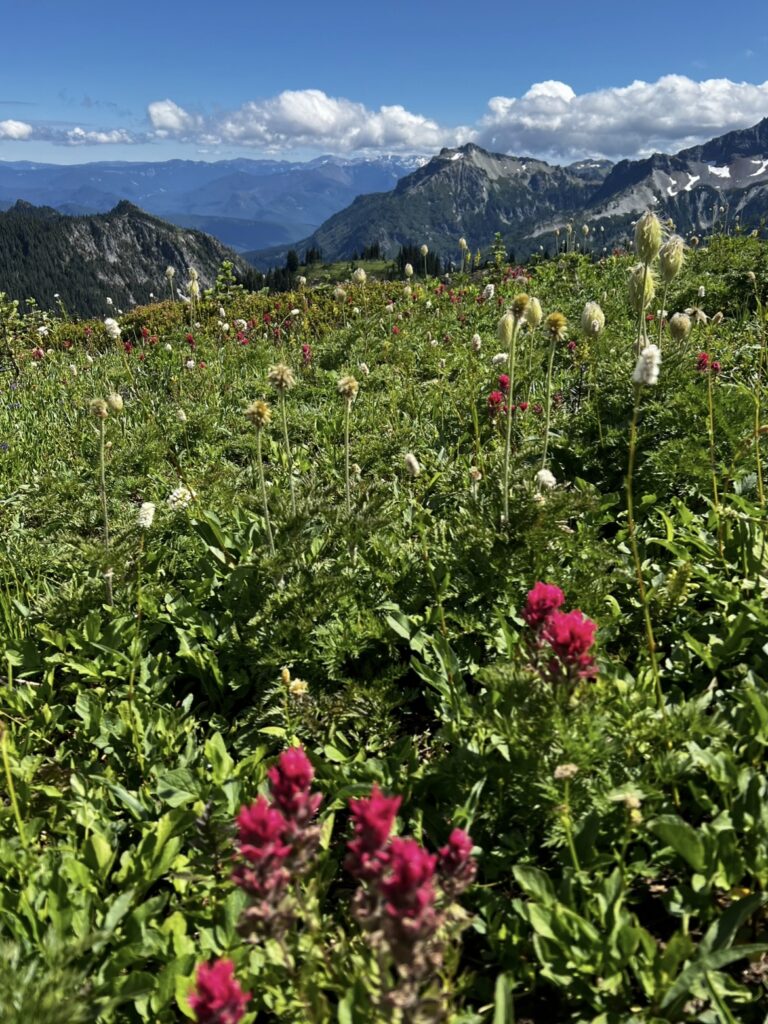
Eventually, you will reach a junction in the trail. You can either choose to turn right to take a shortcut down Golden Gate Trail, or you can continue on Skyline Trail to the left. I wanted to complete the entire loop, so I continued on Skyline Trail. Taking the shortcut shaves off about 1.5 miles from your hike. I am not sure what views I missed out on by not taking Golden Gate Trail, but I was happy with my decision to complete the entire loop.
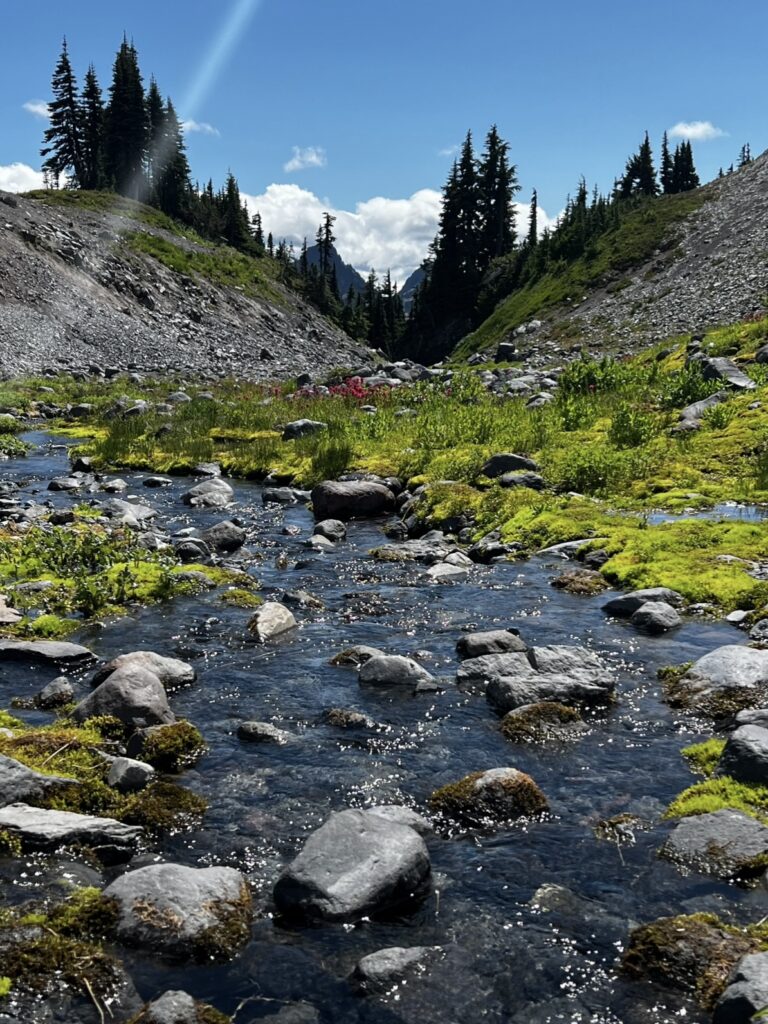
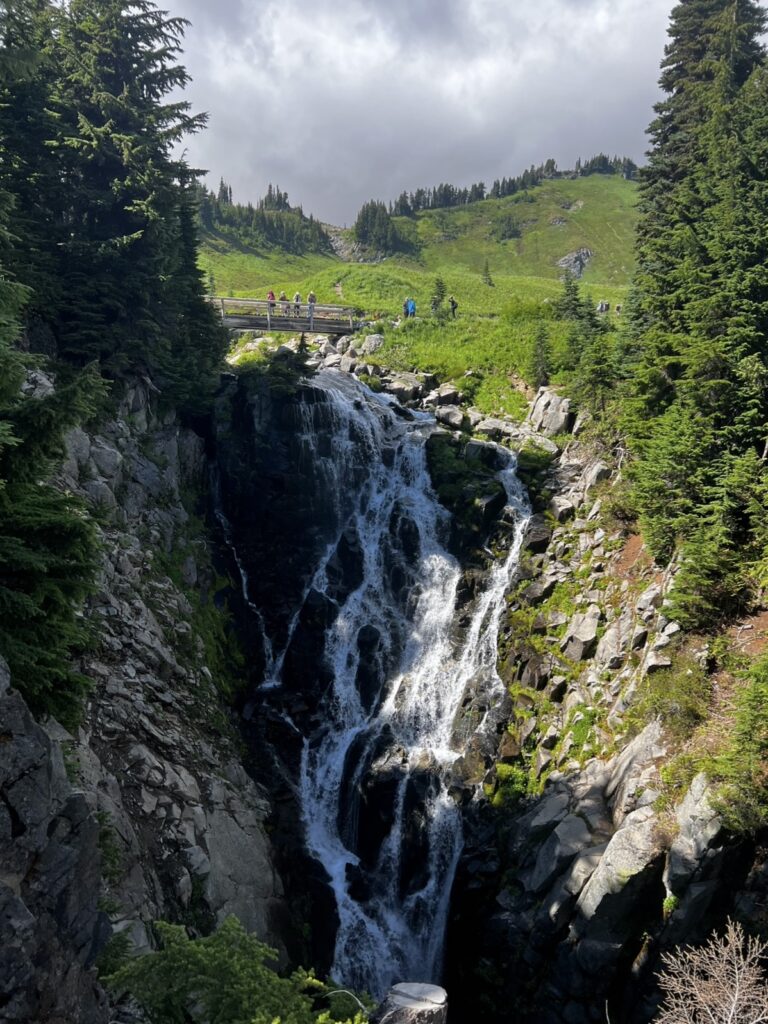
Golden Gate Trail and Skyline Trail meet up with each other right before Myrtle Falls. Myrtle Falls is at the base of a short, steep hill. Since this fall is easily accessible, expect it to be busy. There were so many people at the fall when I finally reached it, which honestly ruined the experience for me. Also, the fact that Mount Rainier was covered in clouds made the fall underwhelming. I have seen gorgeous pictures of Myrtle Falls with Mount Rainier in the background. One day, I want to compete this trail on a cloudless, less crowded day.
reflection lake
Reflection Lake
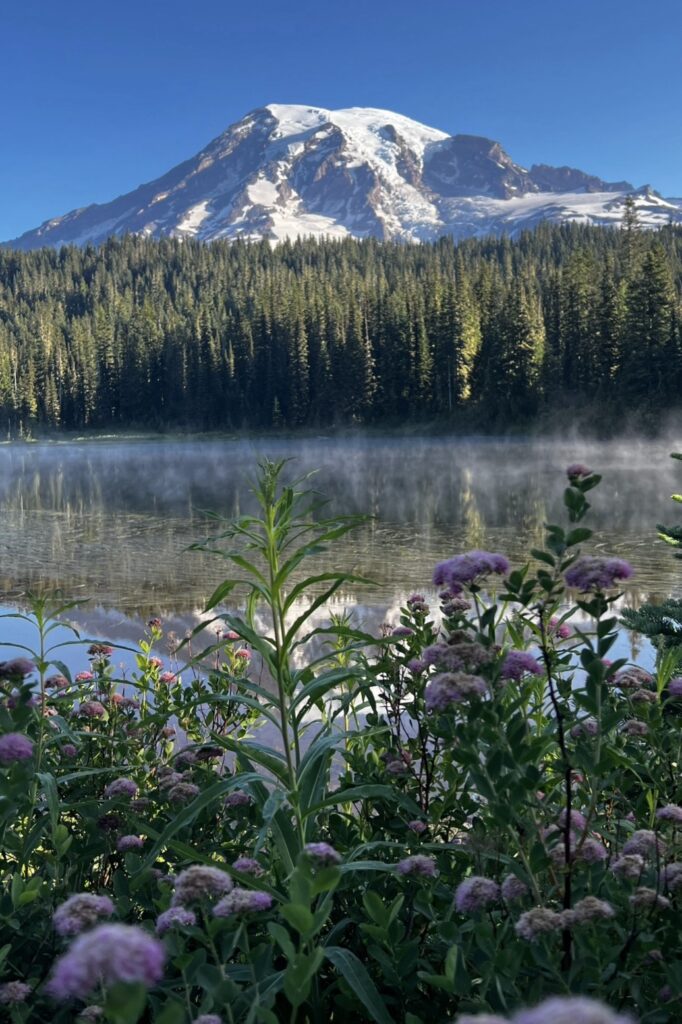
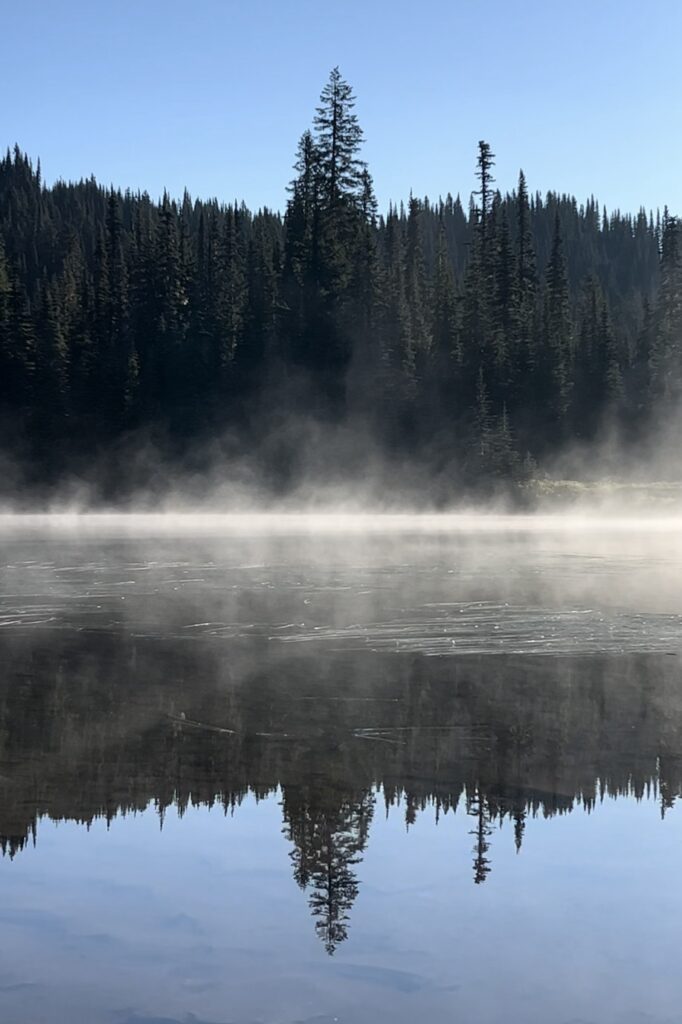
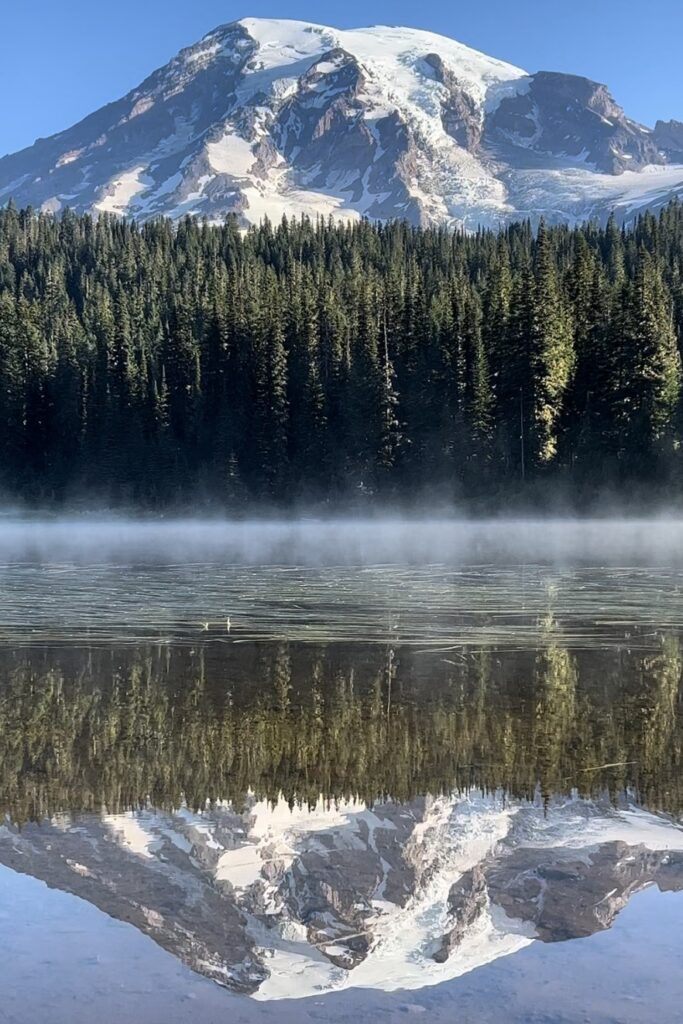
Reflection Lake is one of the most well-known lakes in the park. If it is a clear day, you can see Mount Rainier in the distance and even get a picture of it reflecting off of Reflection Lake (hence the name). The lake is easily accessible and located right off the road.
Pinnacle Peak
Pinnacle Peak
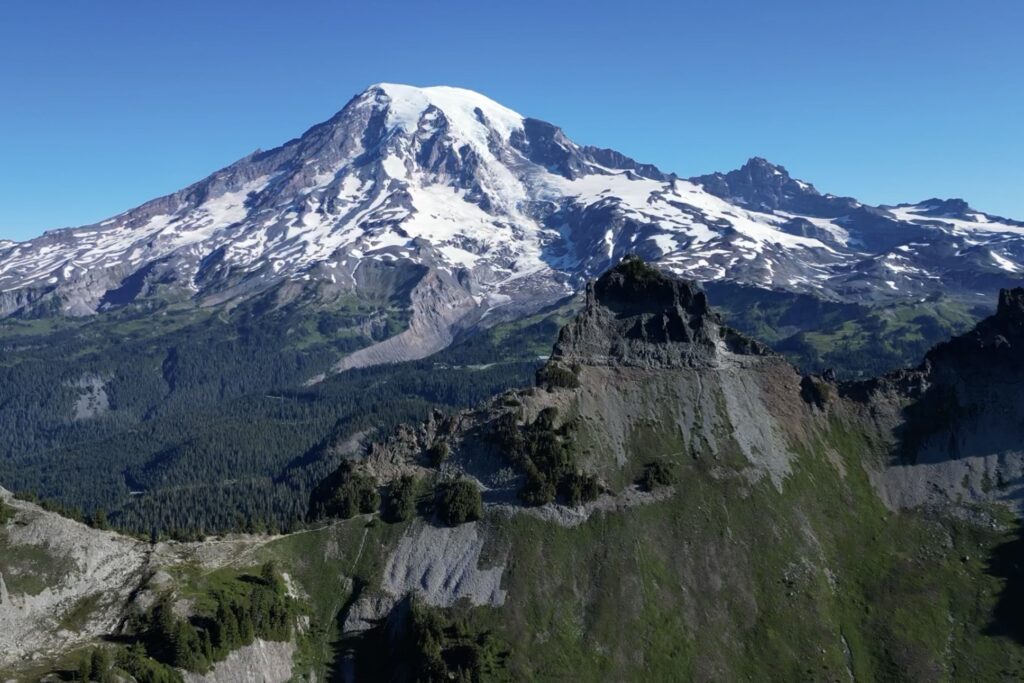
Pinnacle Peak Trail has an elevation gain of 1050 feet and is 2.5 miles round-trip. The trailhead is located right across from Reflection Lake. I arrived at this trail early in the morning and only saw 2 other people while hiking up it. This is one of my favorite trails in the park because you get views of both Mount Rainier and Mount Adams if it is a clear day. The trail was completely shaded while I hiked it, which offered relief from the surrounding sunlight. I saw many different kinds of wildflowers and was able to capture Mount Rainier in the background.
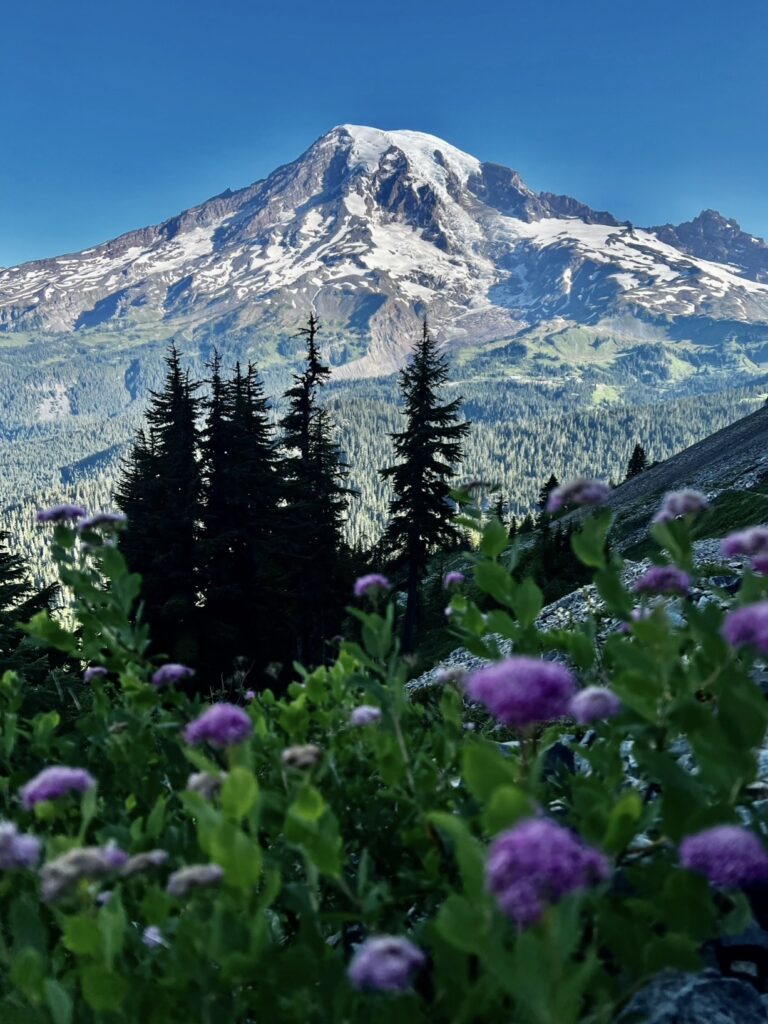
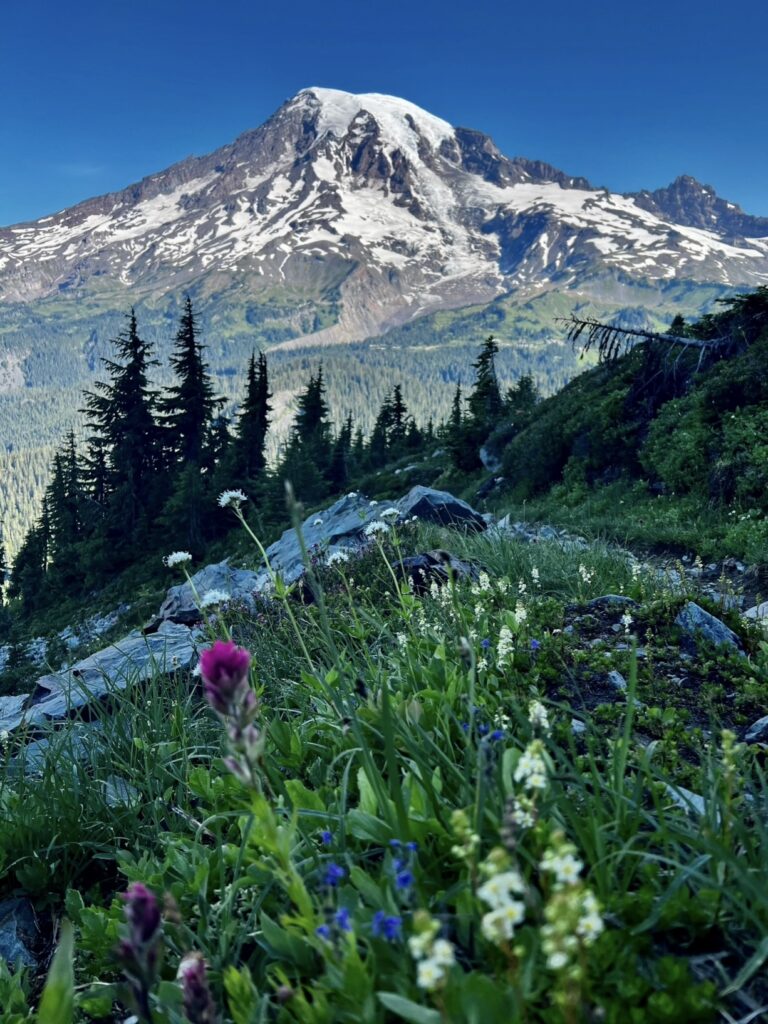
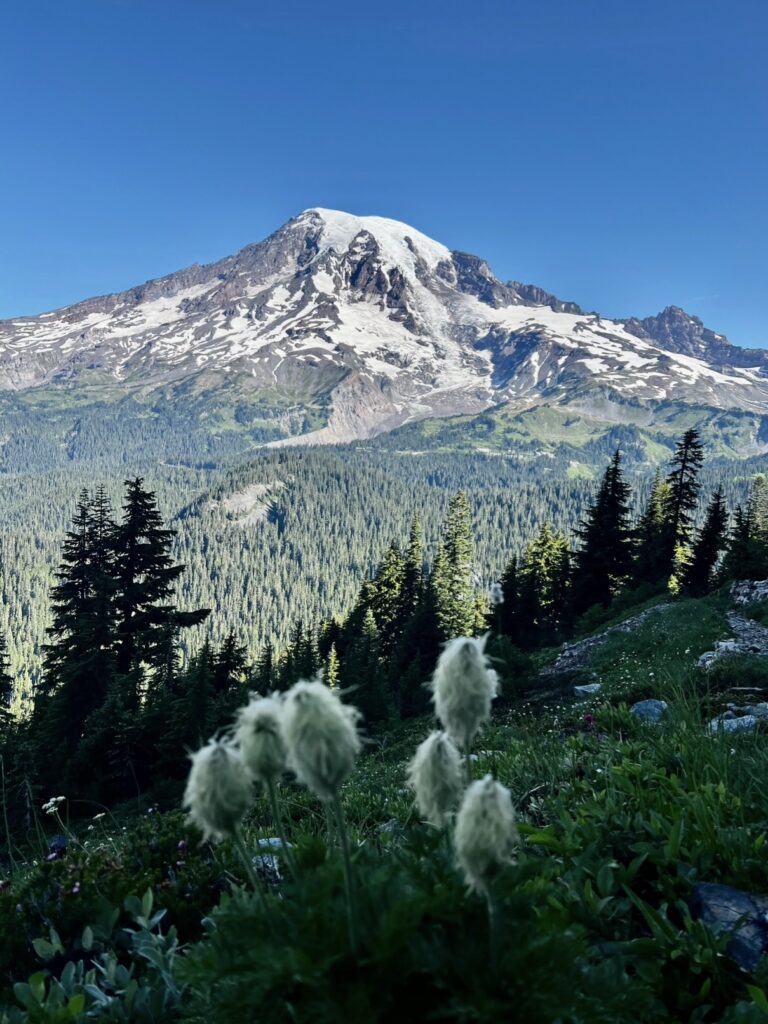
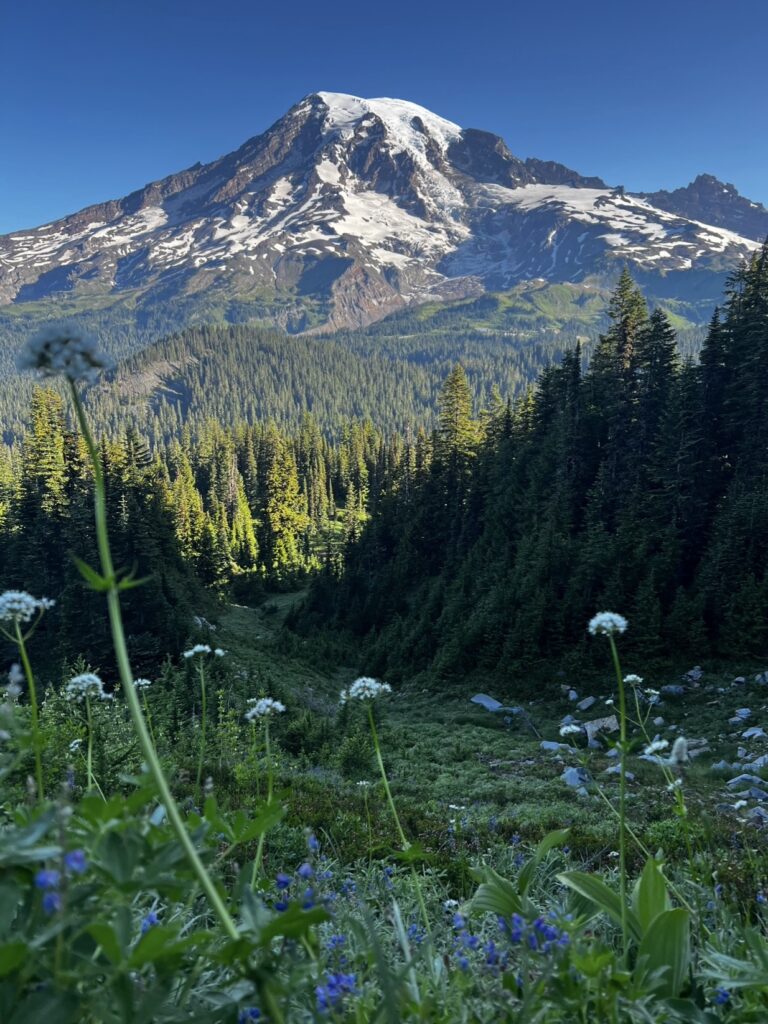
Once you reach the peak, you can continue on the trail to the left or the right. I decided not to go any further and instead launched my drone from the top of the peak. The surrounding area was breathtaking. I was able to see mountain ranges way off in the distance.
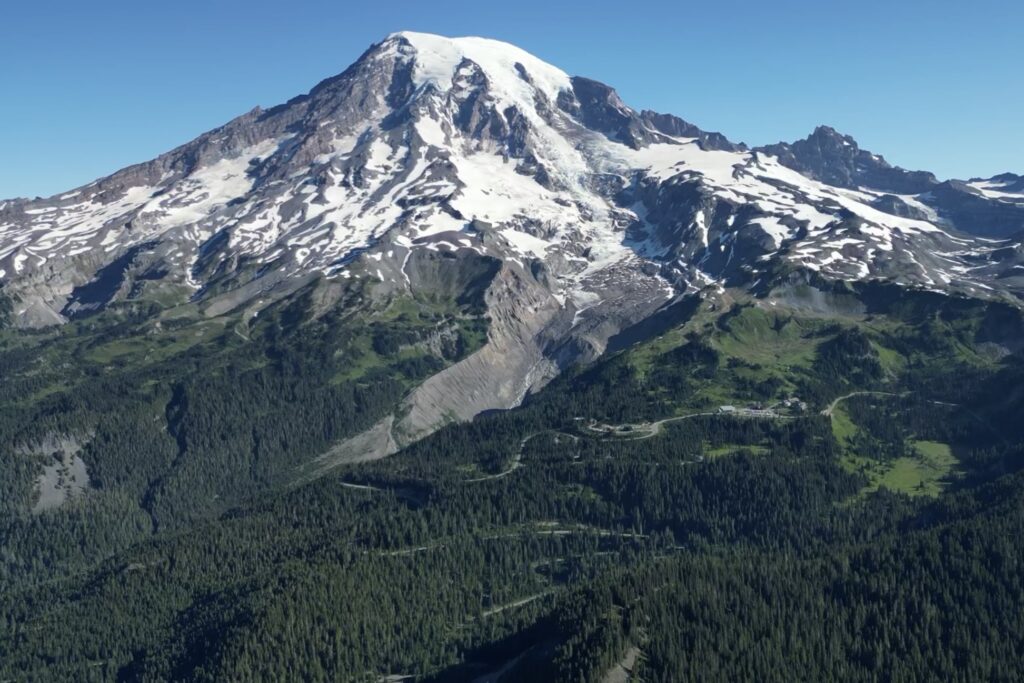
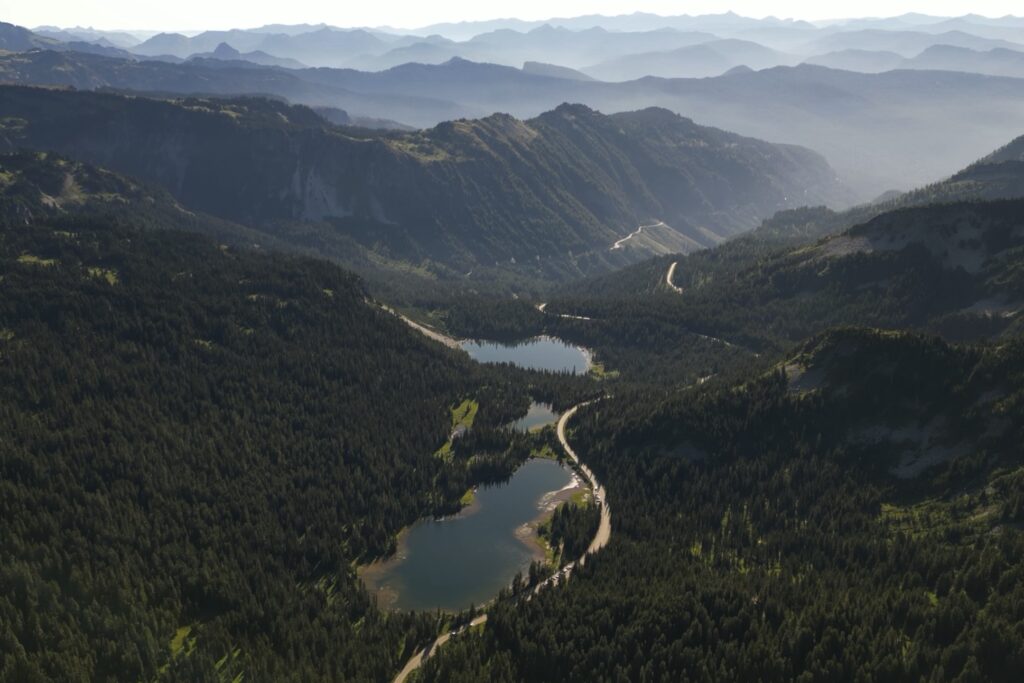
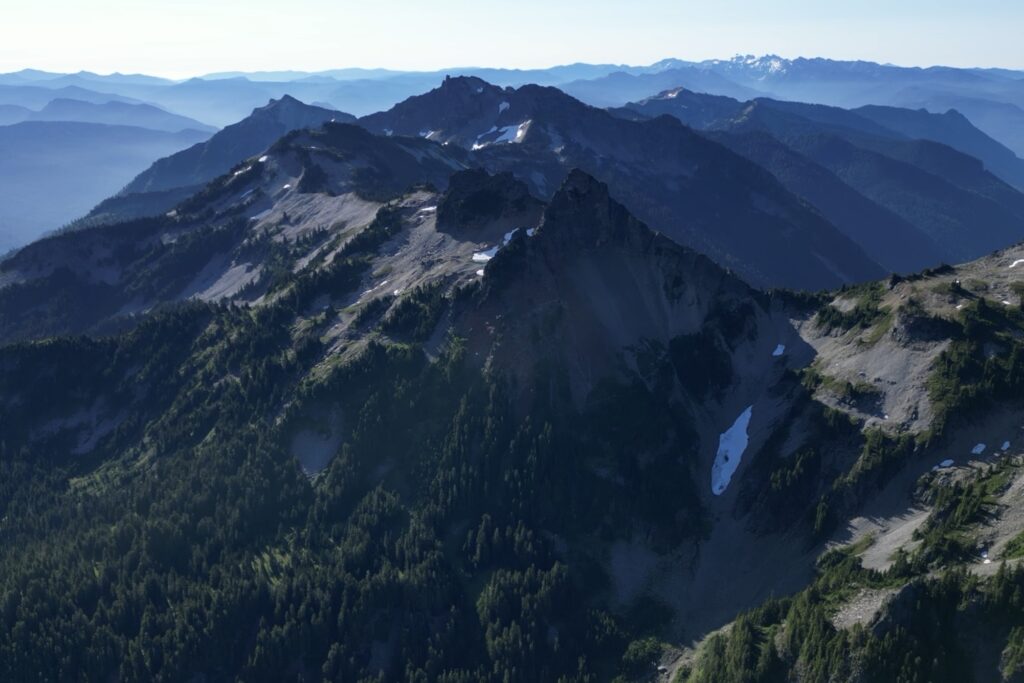
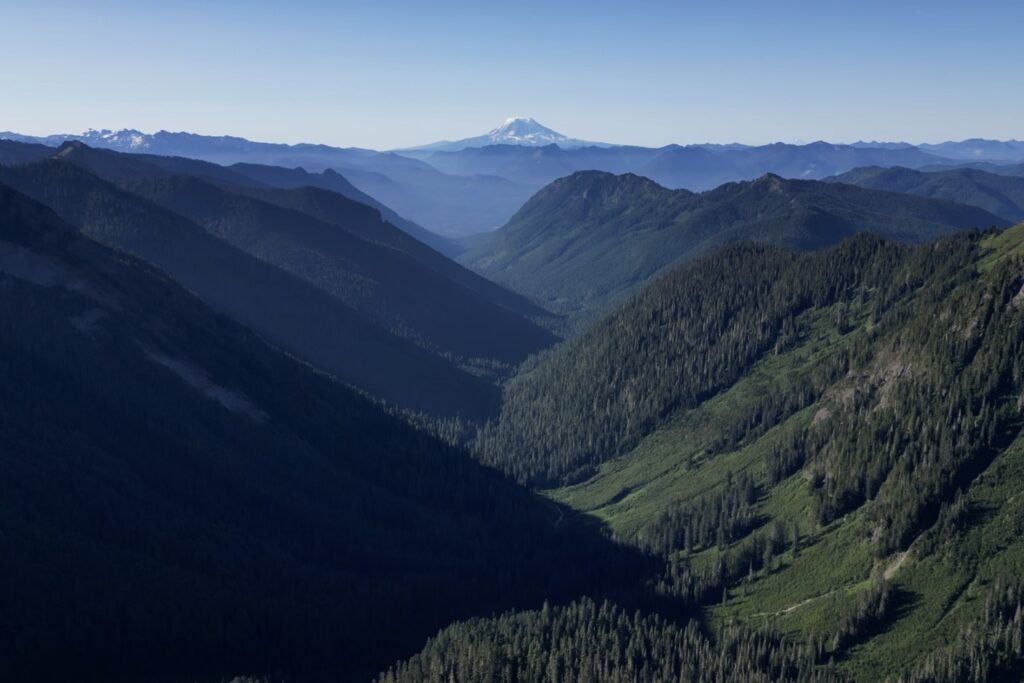
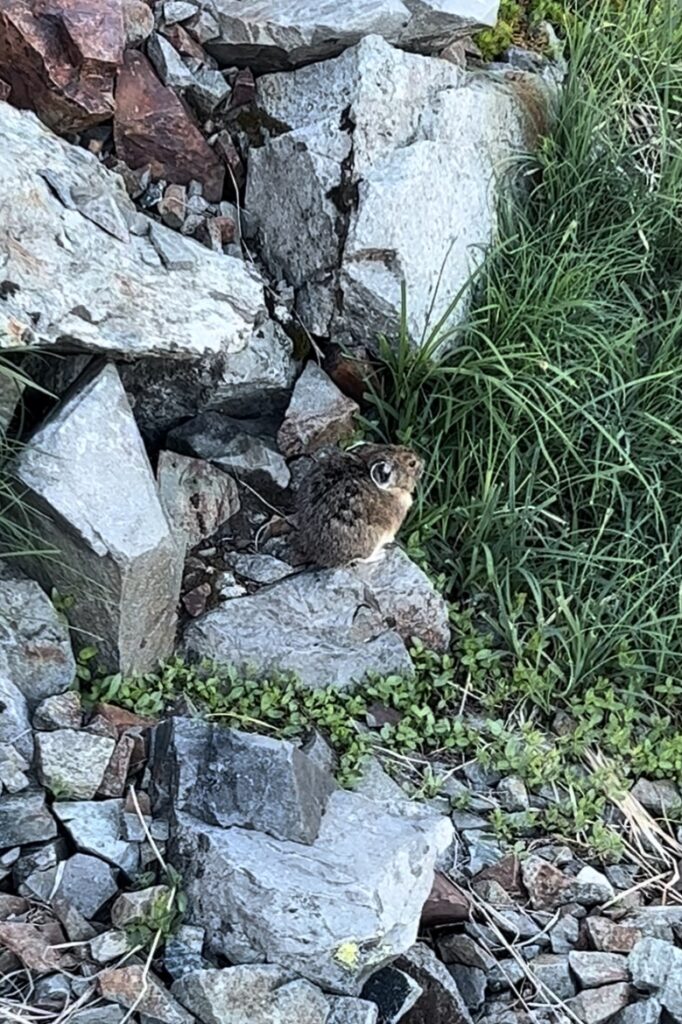
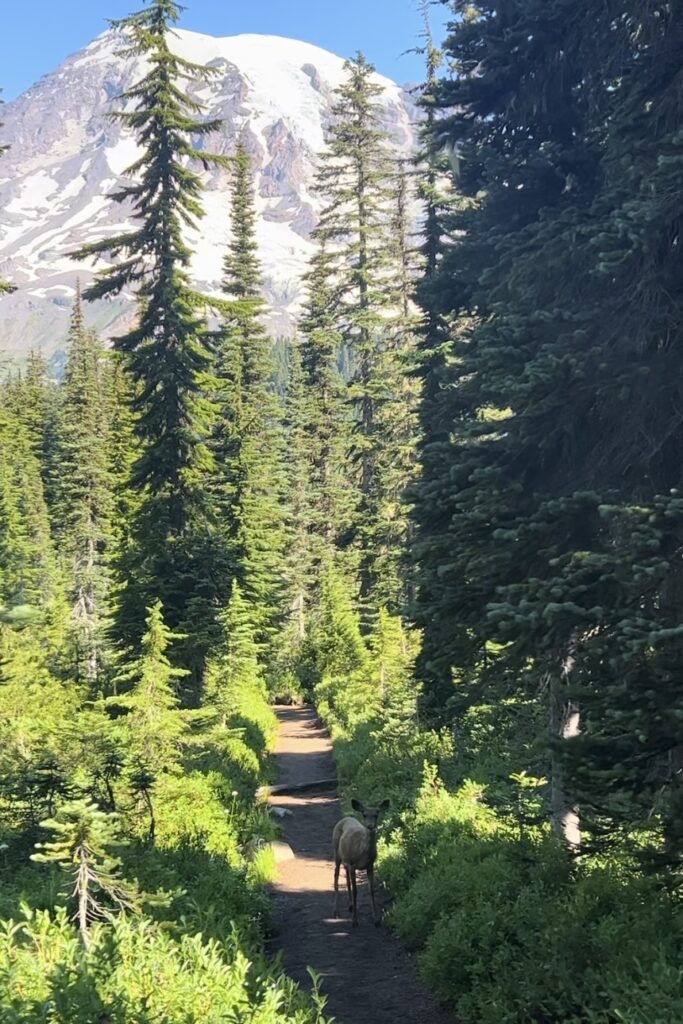
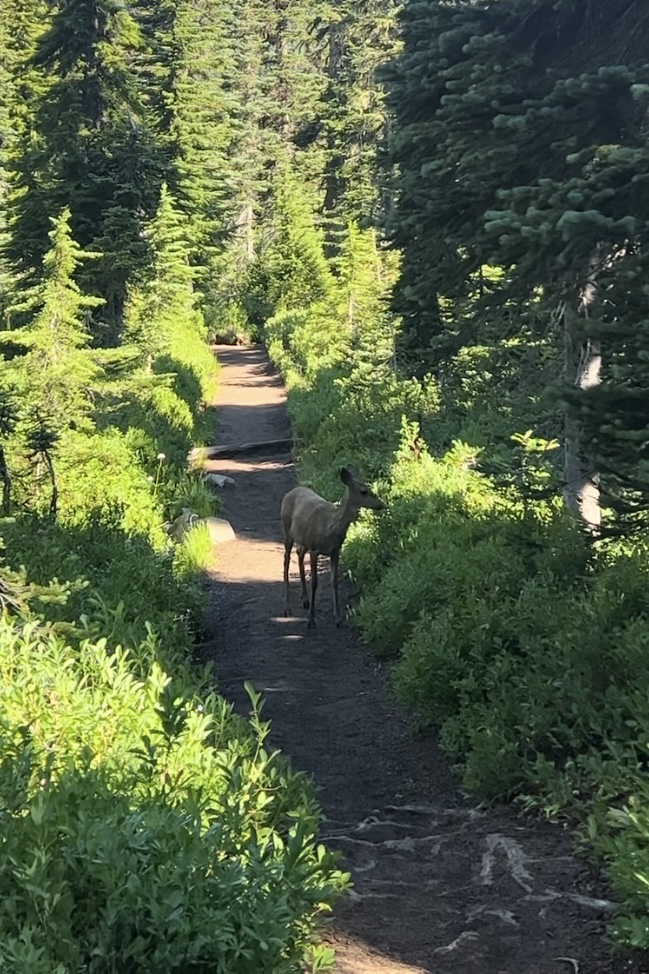
Mountains and wildflowers aren’t the only things that I saw on this trail. I also saw a little mouse on the ascent and a deer on the decent. The deer took me by surprise because I didn’t notice it at first. I was almost at the end of the trail, so I was zoning out and not paying attention. I looked up and saw the deer walking towards me nonchalantly, as it hadn’t spotted me yet. I quickly stopped and watched it from a distance, then we finally made eye contact. We watched each other for a few minutes before it wagged its tail goodbye and exited the trail into the seclusion of the bushes.
Naches Peak Loop Trail
Naches Peak Loop & Tipsoo Lake
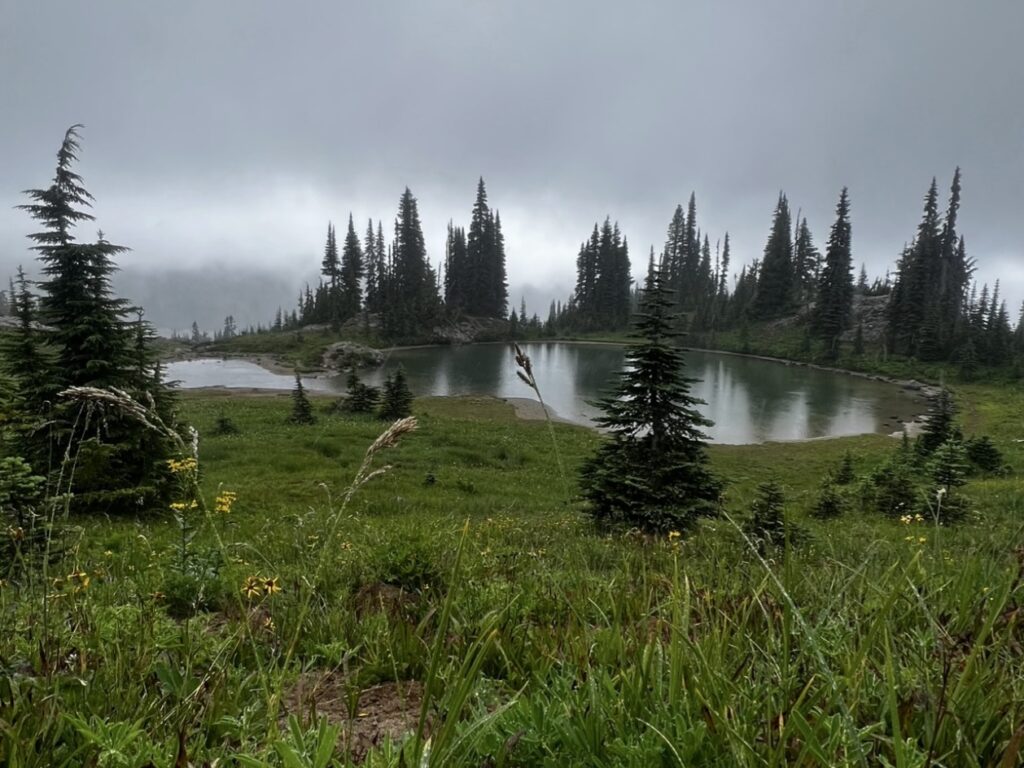
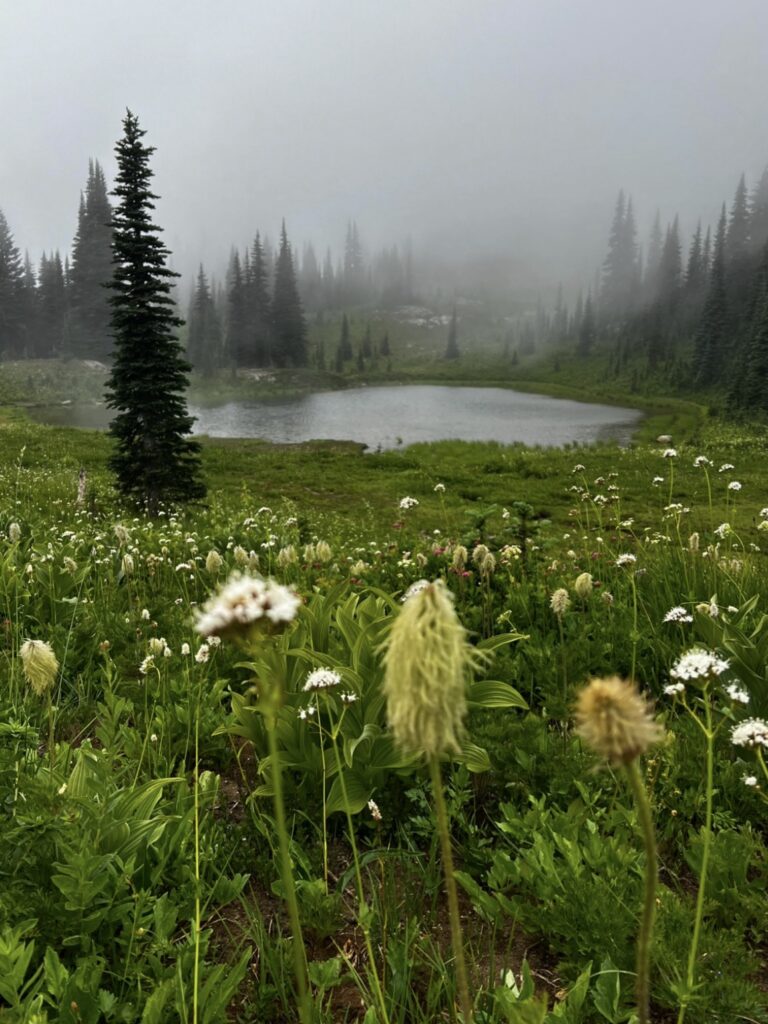
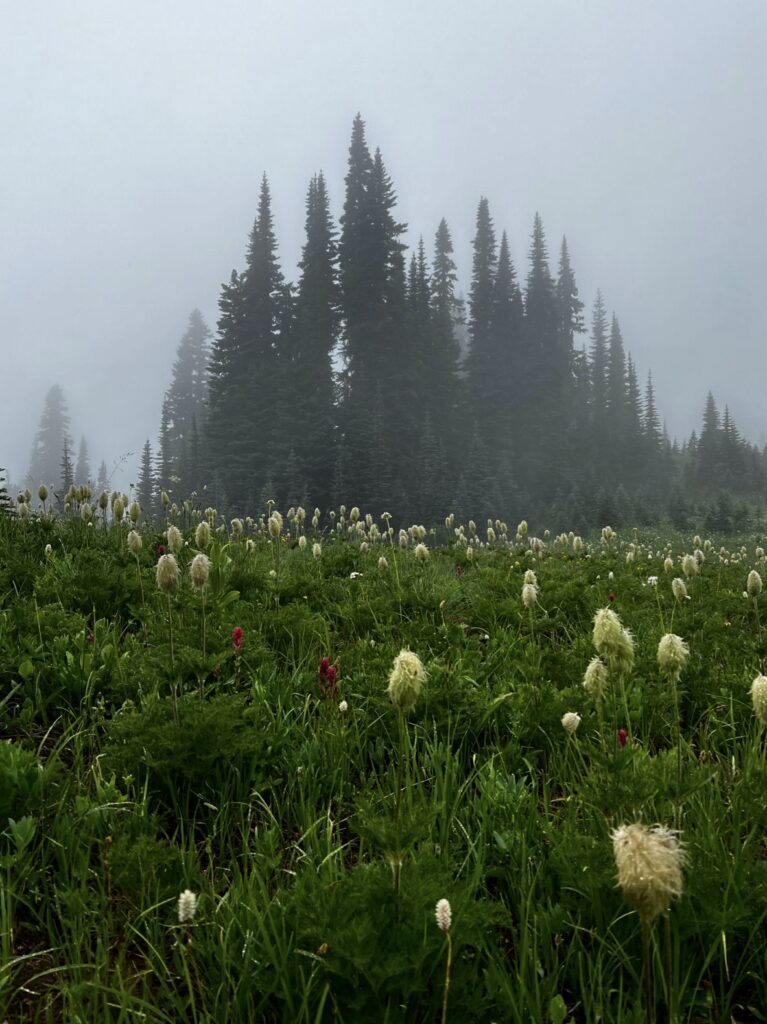
Naches Peak Loop is a 3.2 mile hike with a small elevation gain of 600 feet. This was my favorite wildflower hike because it was rainy and foggy the day I hiked it, so it made the gloomy scenery 10 times more beautiful. I wasn’t expecting rain in the middle of July, so I didn’t have any rain gear with me. This made for a cold, wet hike, but I still loved every second of it. You can either start the hike on the north side of the loop near a small parking lot, or from the south side of the loop by Tipsoo Lake. I parked in the south lot and completed the loop by going counterclockwise. Going this route, I was immediately greeted by Little Tipsoo Lake and wildflowers.
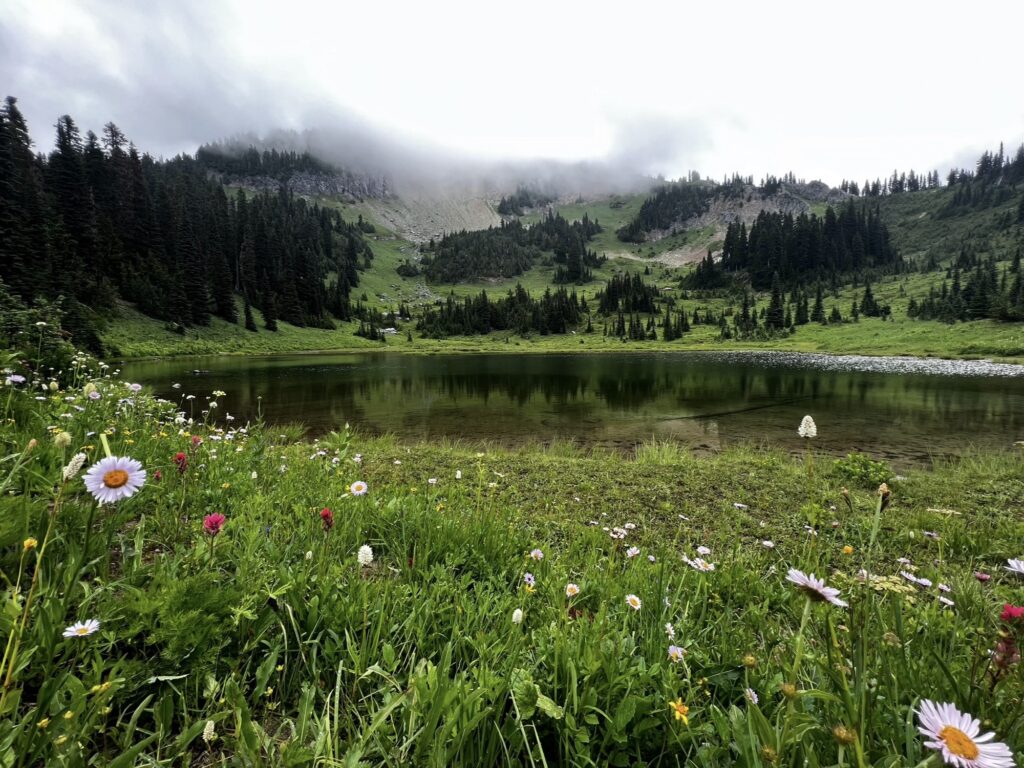
A short hike up the trail were more wildflowers and views of the valley leading to Mount Rainier.
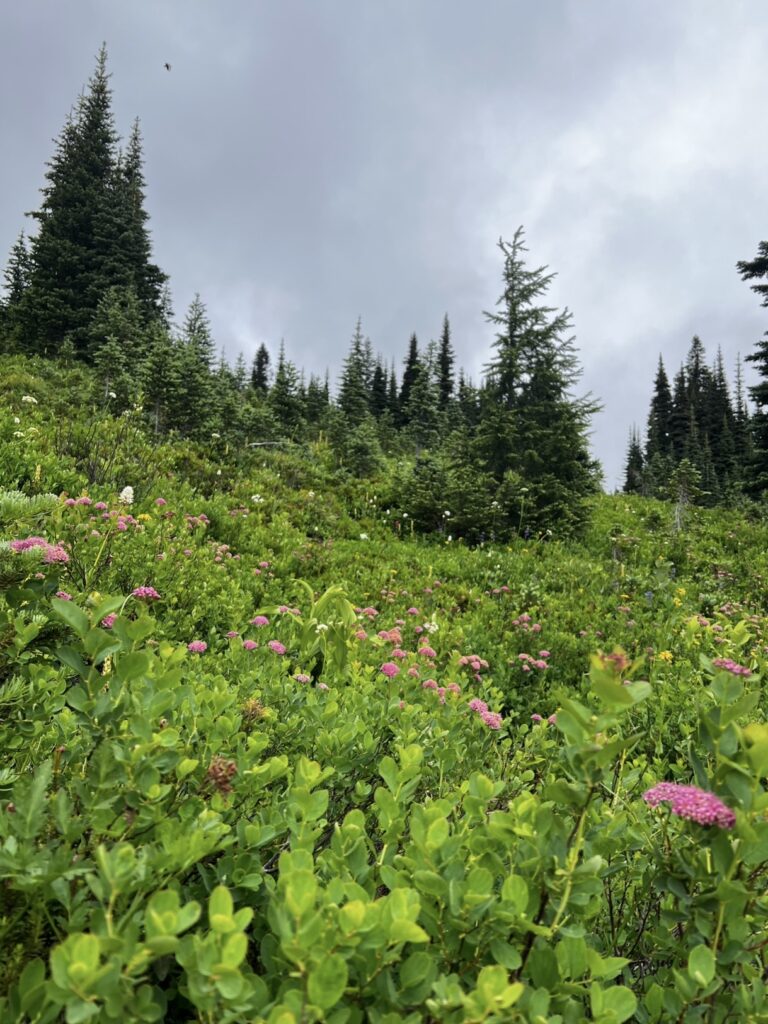
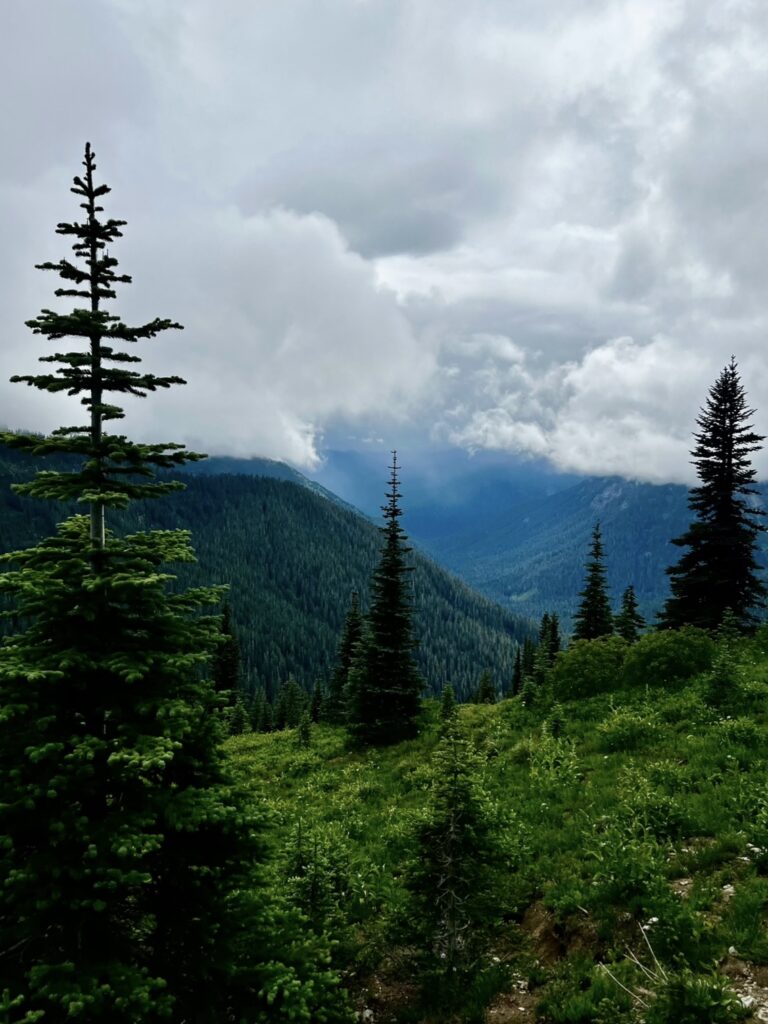
After about a mile, you will have views of Dewey Lake nestled below you. There was an overlook of the lake off the trail, so I stopped here to fly my drone. Once I launched my drone and made it over to the lake, it became extremely foggy and windy. My drone was struggling to get around, so after getting a few pictures I decided to just land it. The only problem with this was that it was so foggy, that I had a hard time recognizing my surroundings and couldn’t find where I was standing. I knew I was working against time because drone batteries drain faster when flying in windy conditions. I started to panic when my battery hit 20%. After about 10 minutes of flying along where I could see the trail, I finally found myself and was able to save my drone.
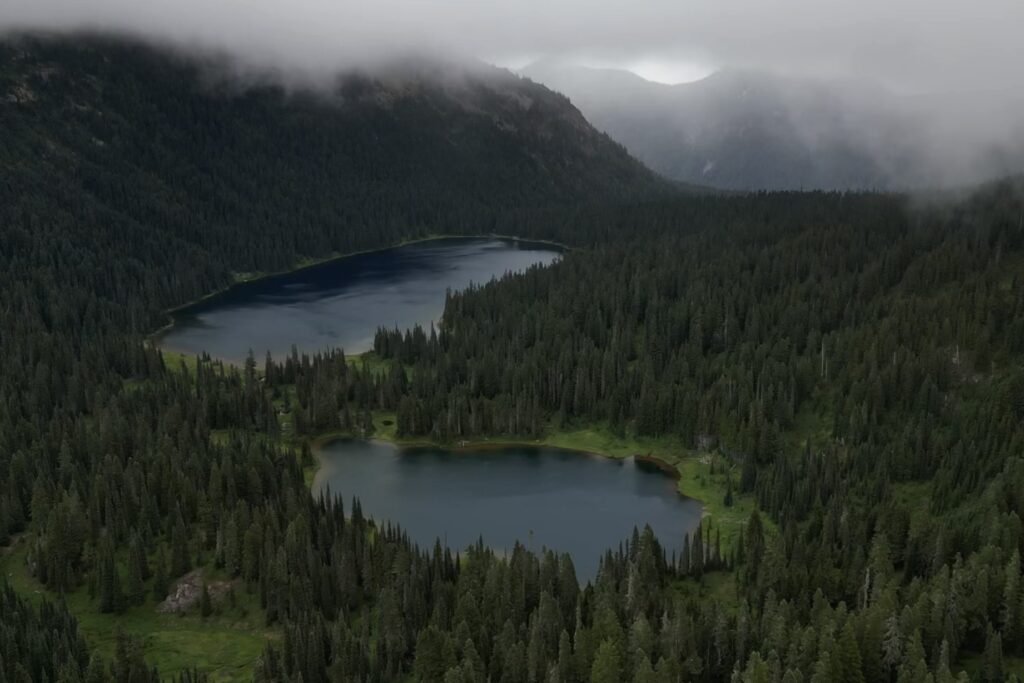
The next section of the trail wound through the forest where I passed by a couple of lakes that I did not know the names of and a plethora of wildflowers. After about another mile into the trail, I really started to regret not having any rain gear. But seeing these beautiful sights gave me motivation to keep going.
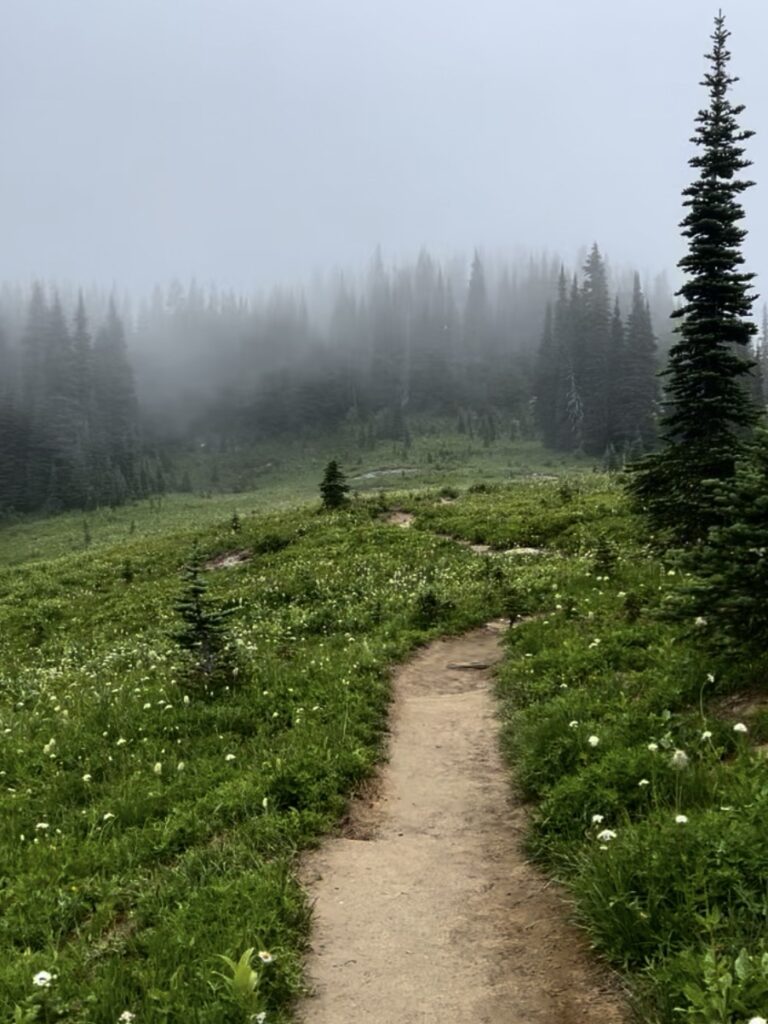
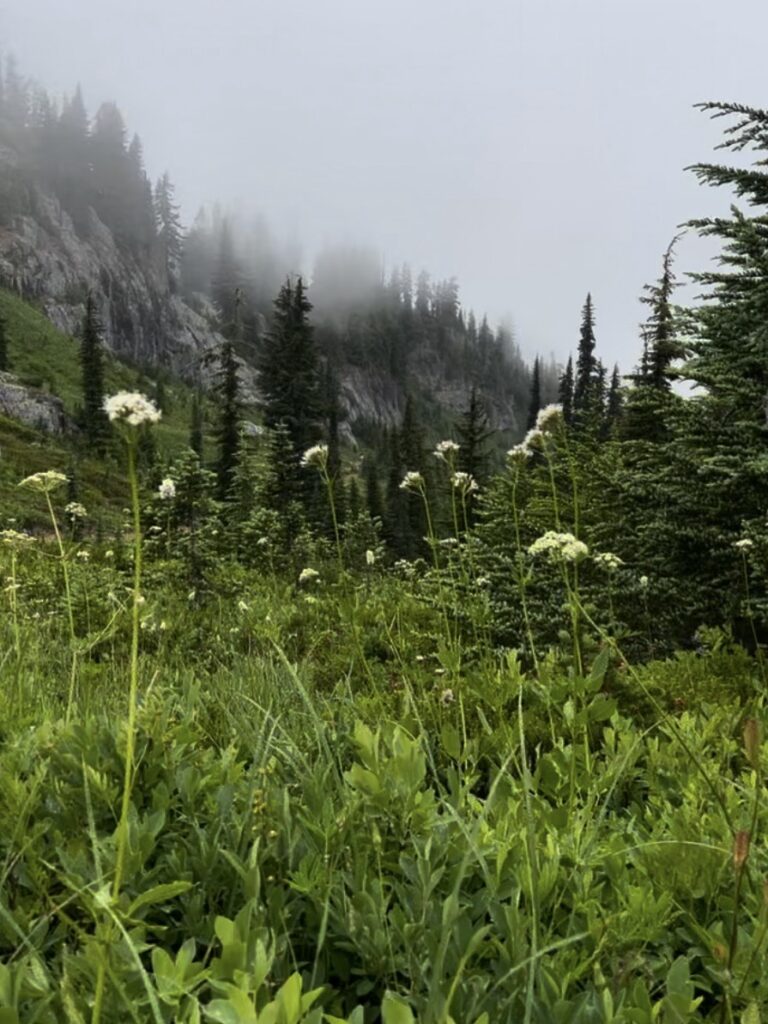
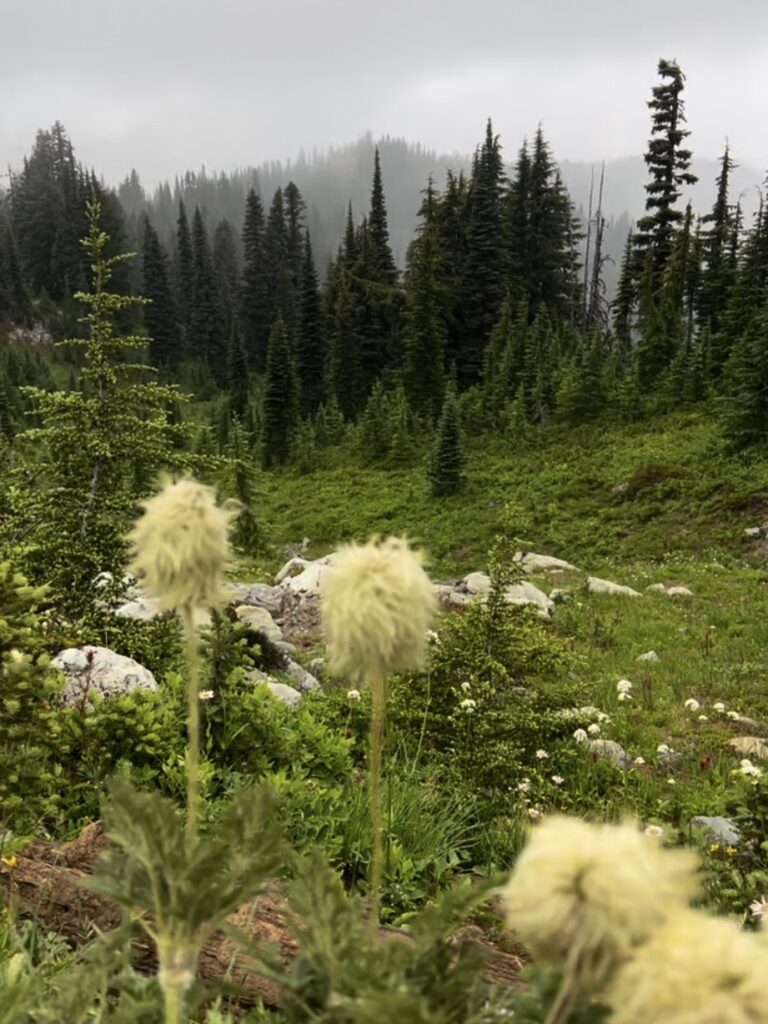
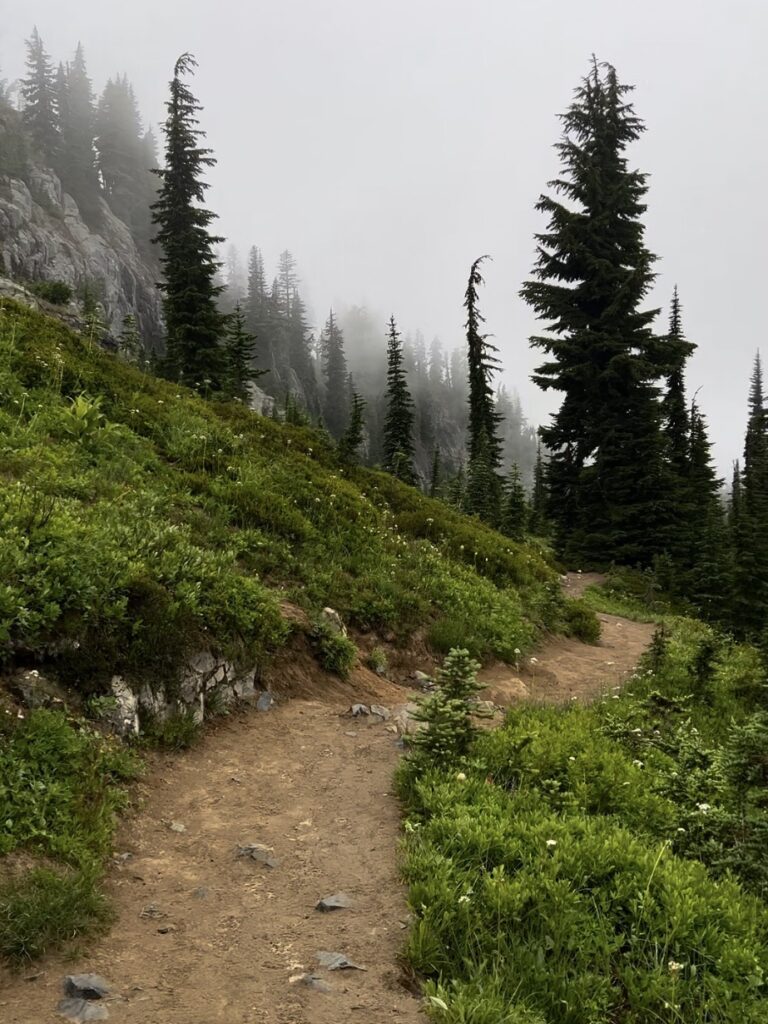
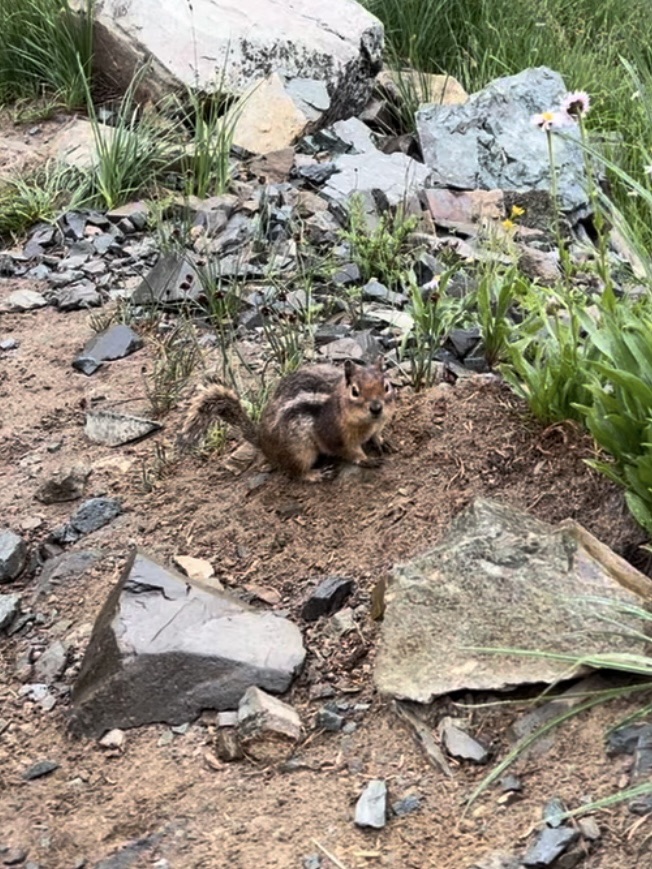
After you make your way through this enchanting forest, the loop meets up with the road near the north parking lot. To continue on the loop to Tipsoo Lake, you just have to cross the street and continue on the trail. The lake is less than a mile from the road. You will wind through the forest some more and see wildflower fields right before you reach the lake.
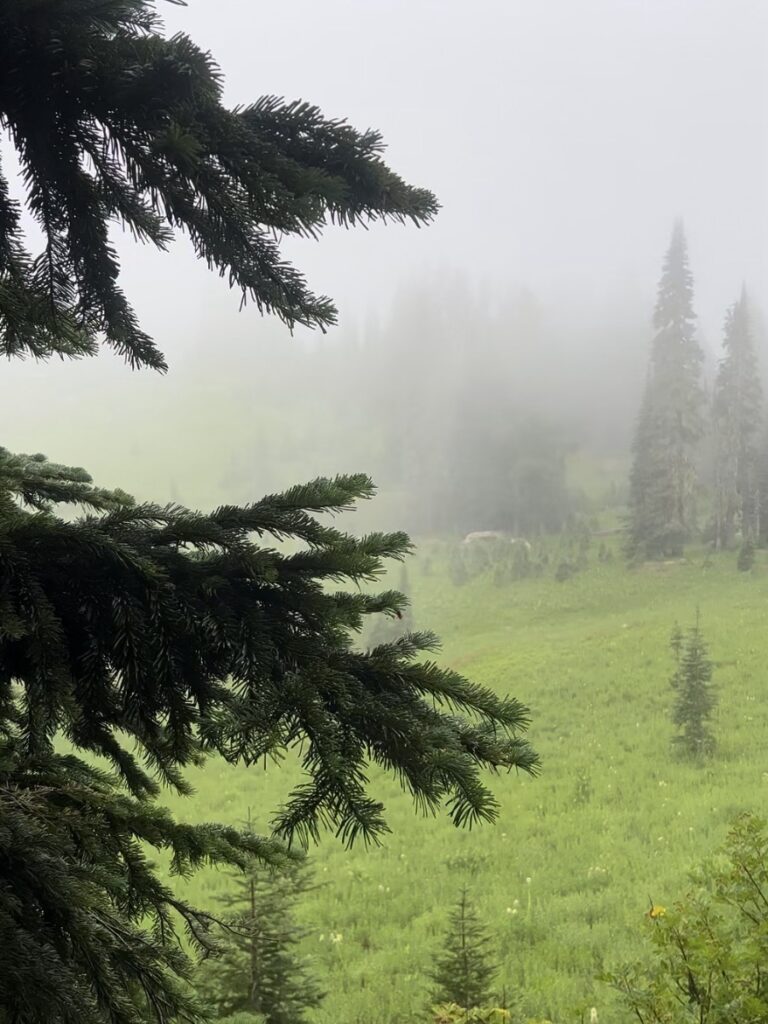
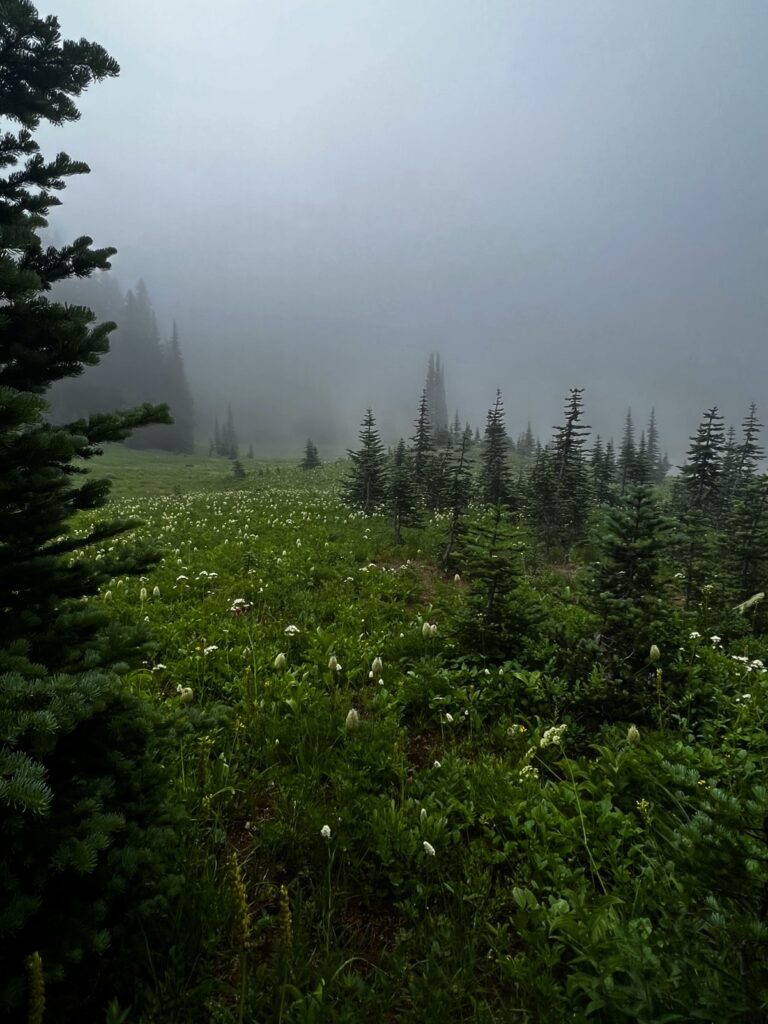
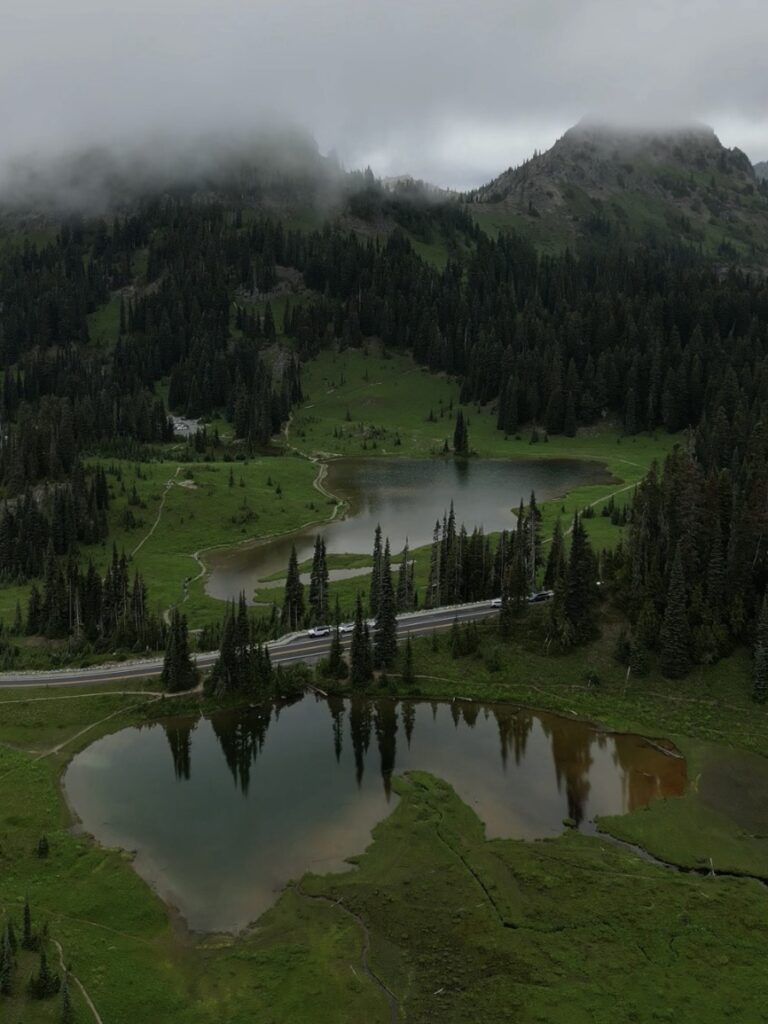
Walking around Tipsoo Lake while it was foggy was a surreal experience. I watched the fog blow across the lake for a while and basked in serenity of it. I couldn’t believe how beautiful this area was and I was so grateful that I had done this hike in gloomy weather. Being at the lake at that exact moment was something that I will never forget.
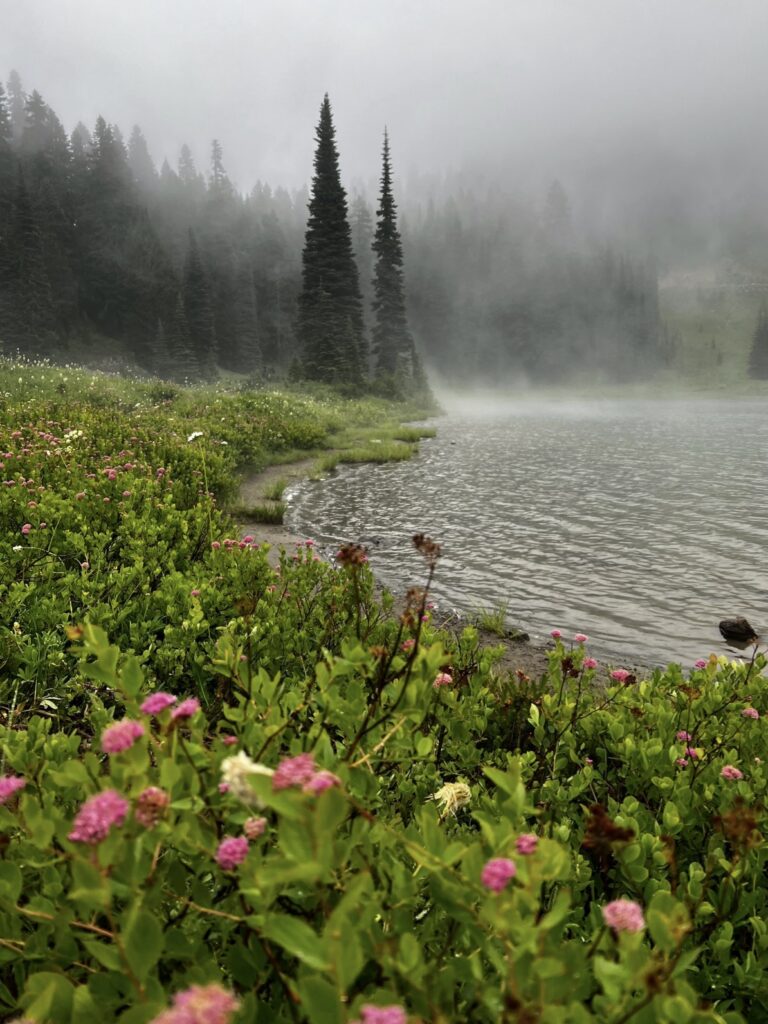
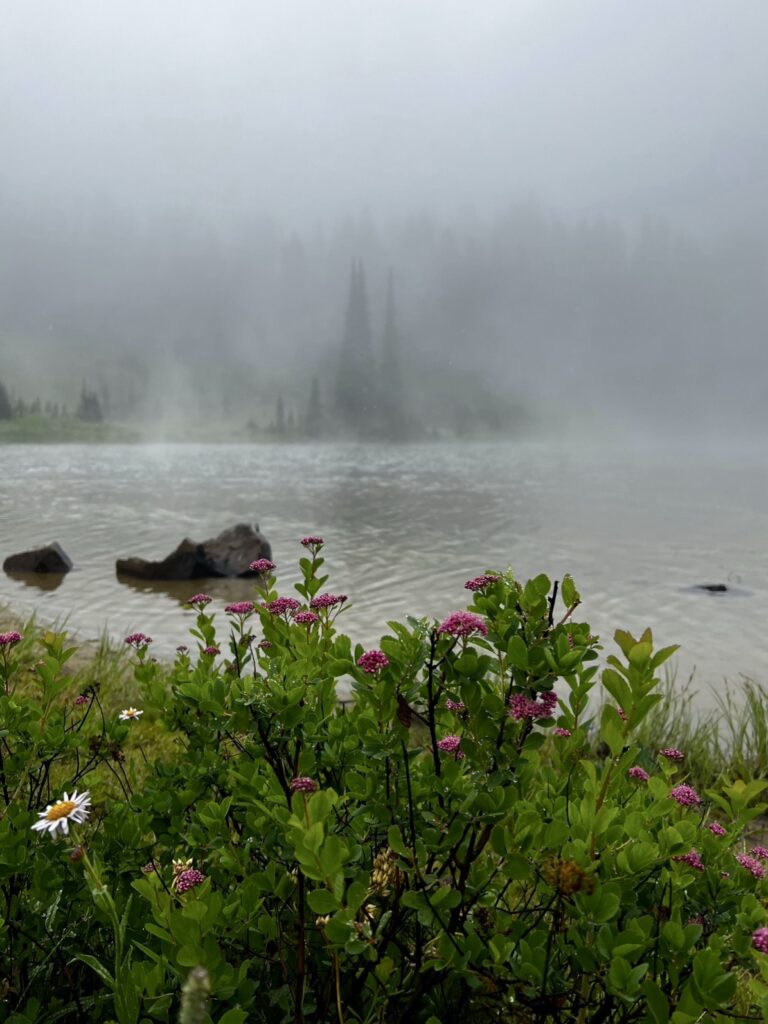
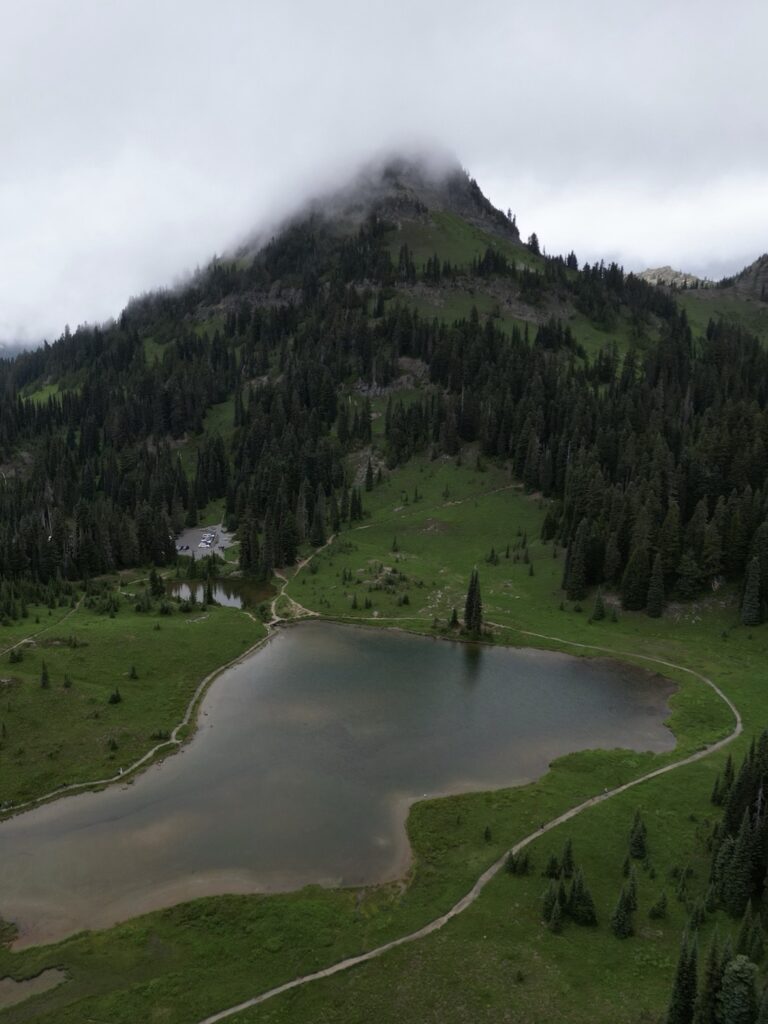
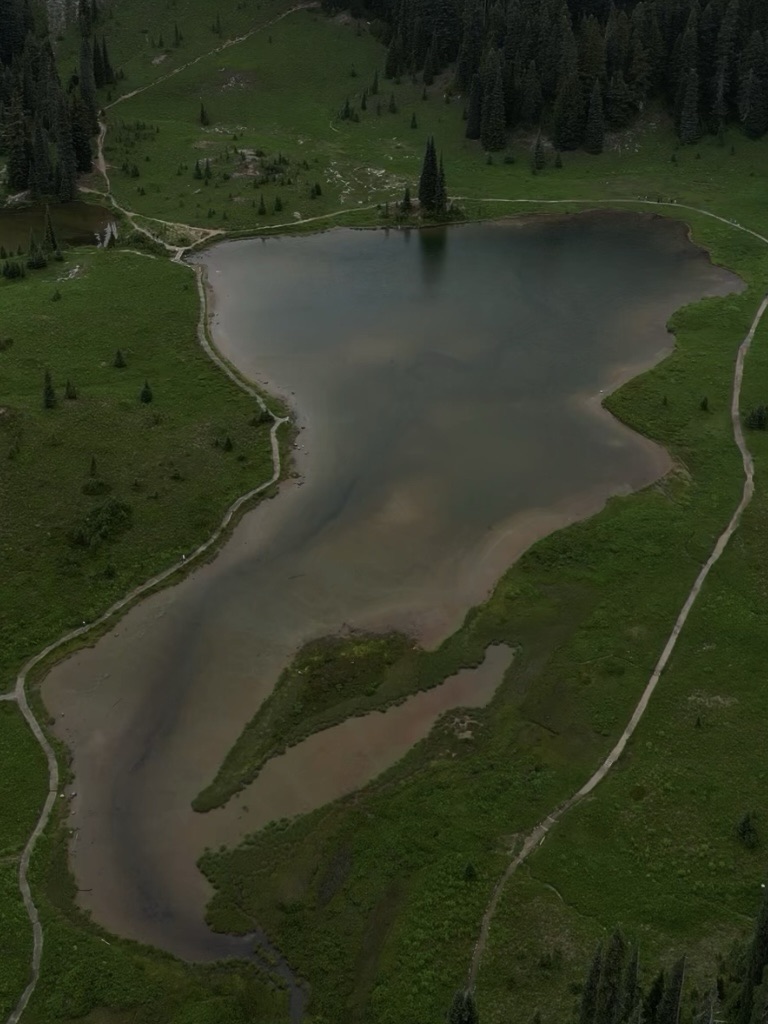
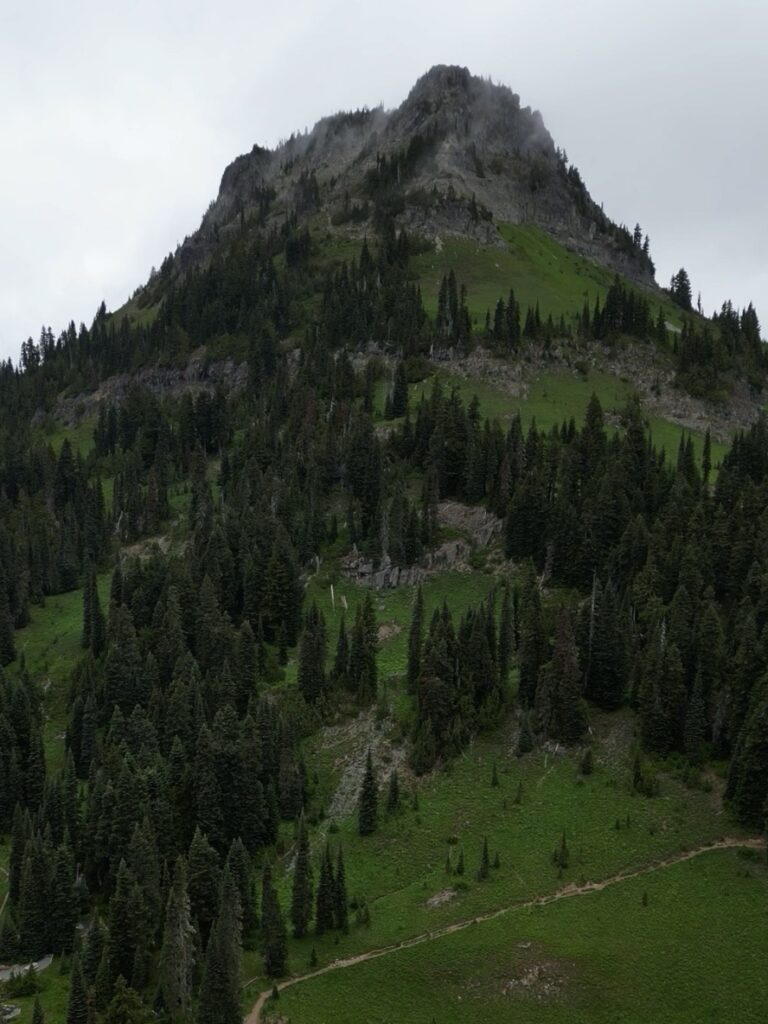
Before I left this area, I wanted to fly my drone to get some shots of the lake from above. Every second the appearance of Yakima Peak above Tipsoo Lake would change because the fog was consistently blowing around it. The peak would switch from being hidden, to partially hidden, to unobstructed.
bench
Bench & Snow Lakes
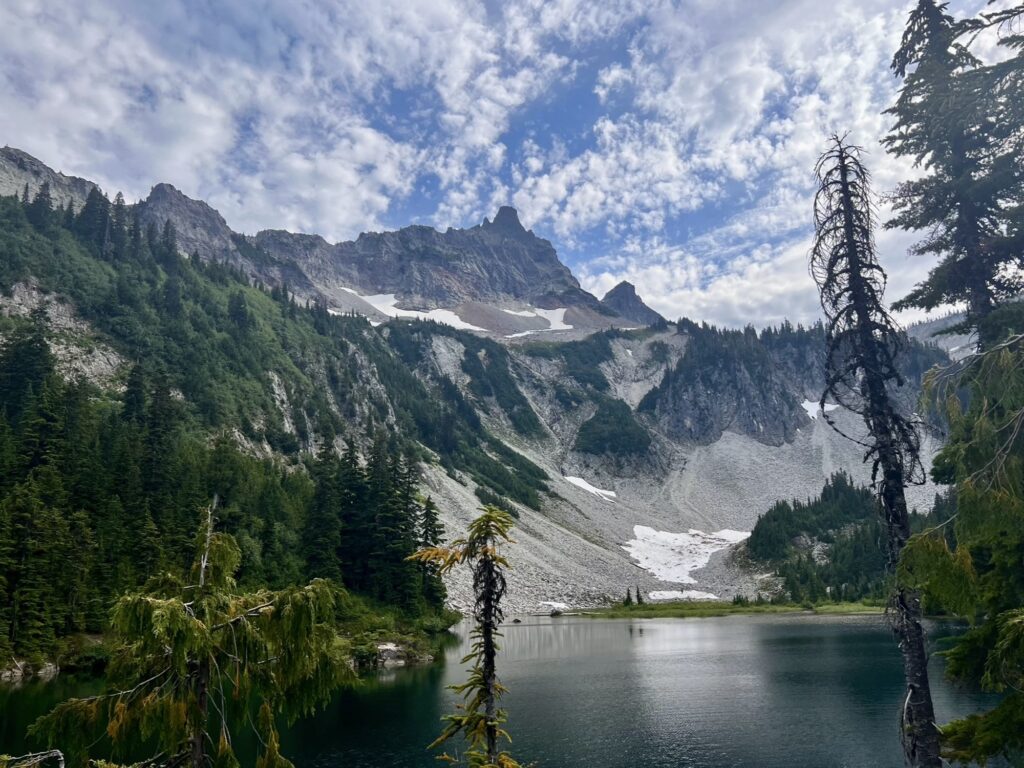
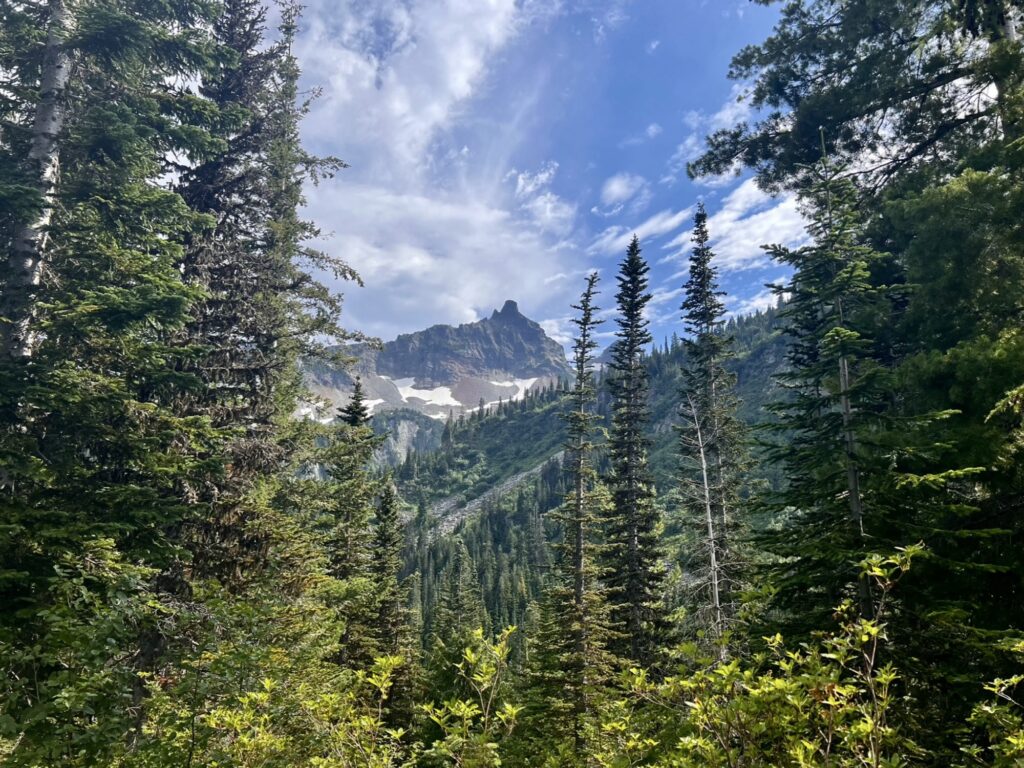
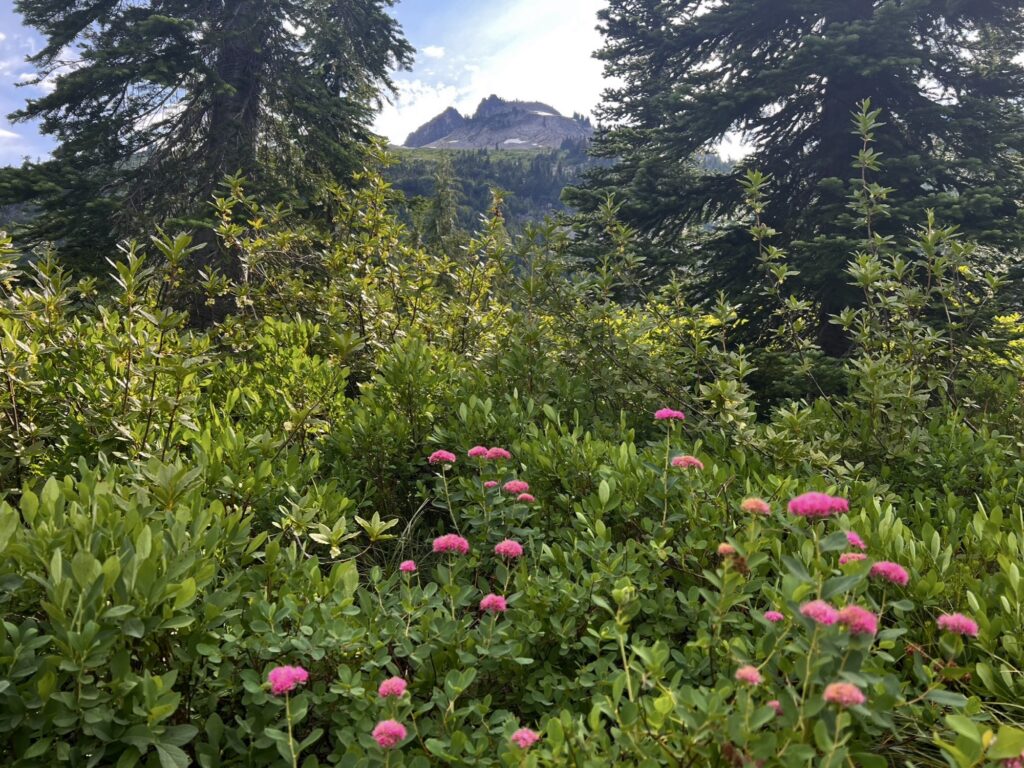
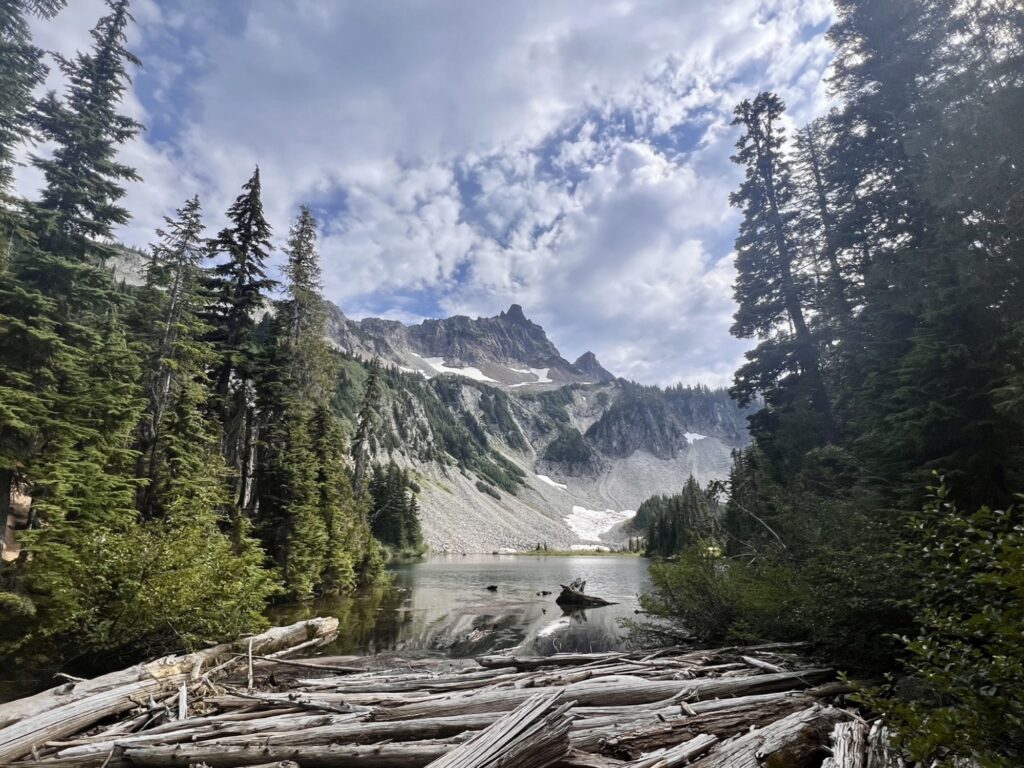
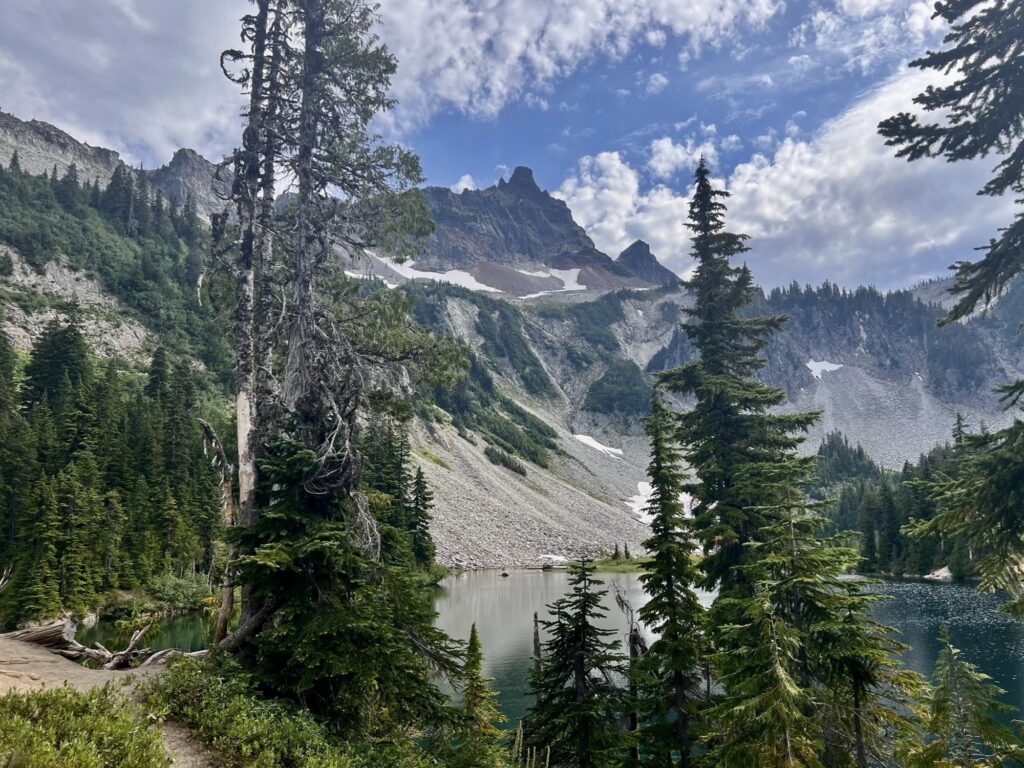
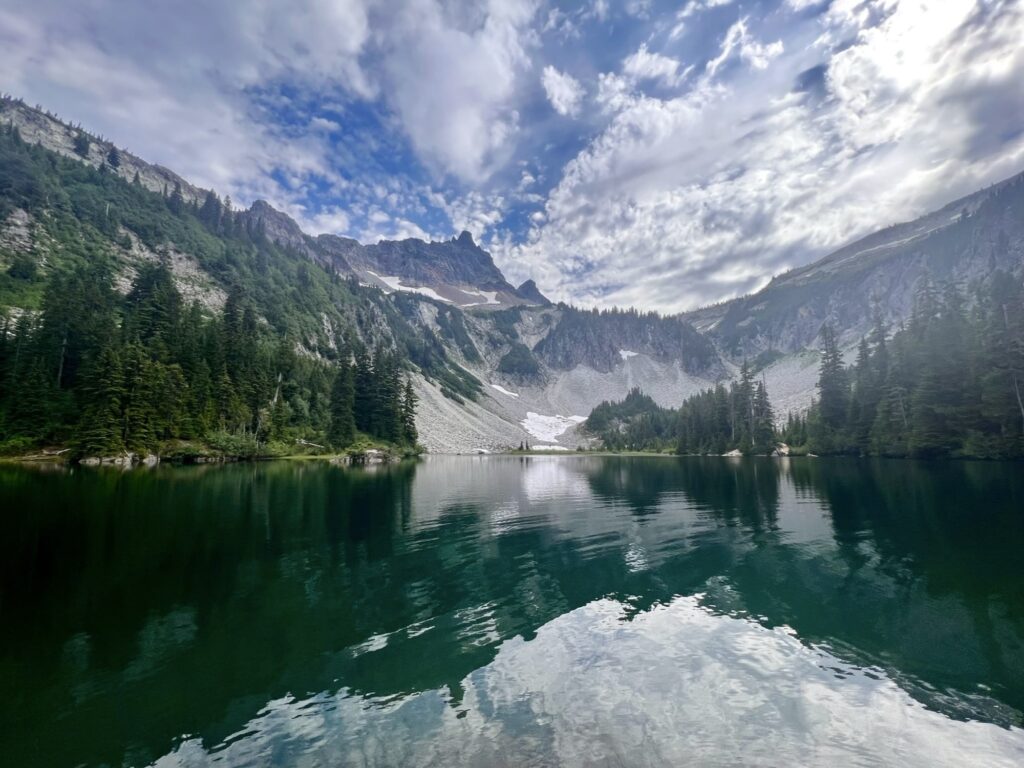
Bench & Snow Lakes Trail is about 2.5 miles round-trip with less than 650 feet of elevation gain. This short trail has a lot to offer in a short amount of time. There are wildflower fields in the summer, views of Mount Rainier and Unicorn Peak on a clear day, and two decent sized lakes, Bench and Snow Lakes. Your short journey starts after climbing up a small hill on the left side of the parking lot. Almost immediately after climbing this hill you will have views of Unicorn Peak and Mount Rainier in the distance to the north and south of you.
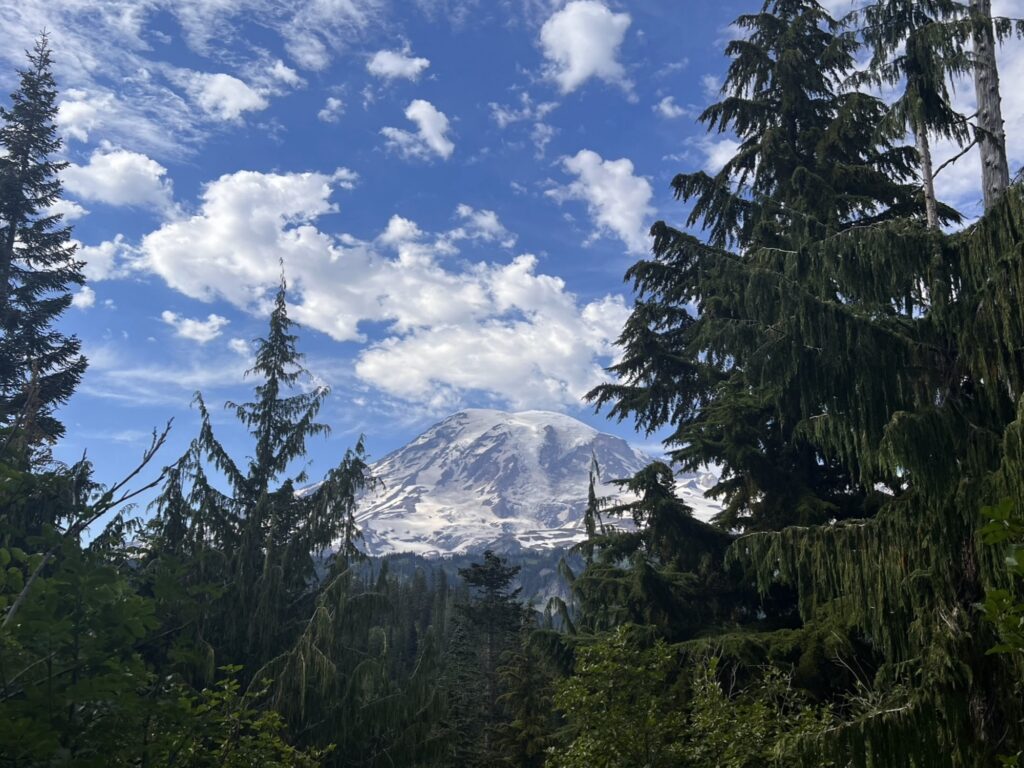
The first lake that you will reach is Bench Lake. There will be a sign for it about a mile into the trail. You can see this lake either before or after exploring Snow Lake and the detour doesn’t take very long. On a clear calm day, Bench Lake can offer a near perfect reflection of Mount Rainier similar to Reflection Lake.
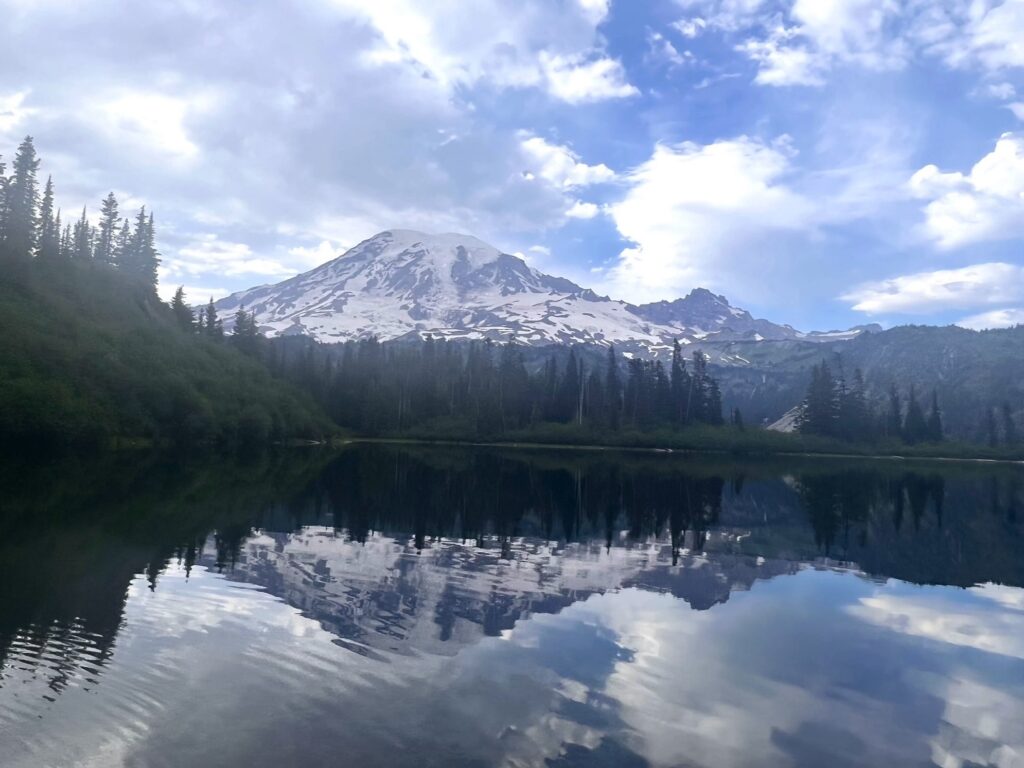
Once you reach Bench Lake, Snow Lake isn’t much further. To get to Snow Lake, you will cross a wooden bridge and there will be a split in the trail going to the left or the right. The left offers a full view of the lake with Unicorn Peak in the background.
silver
Silver Falls Loop Trail
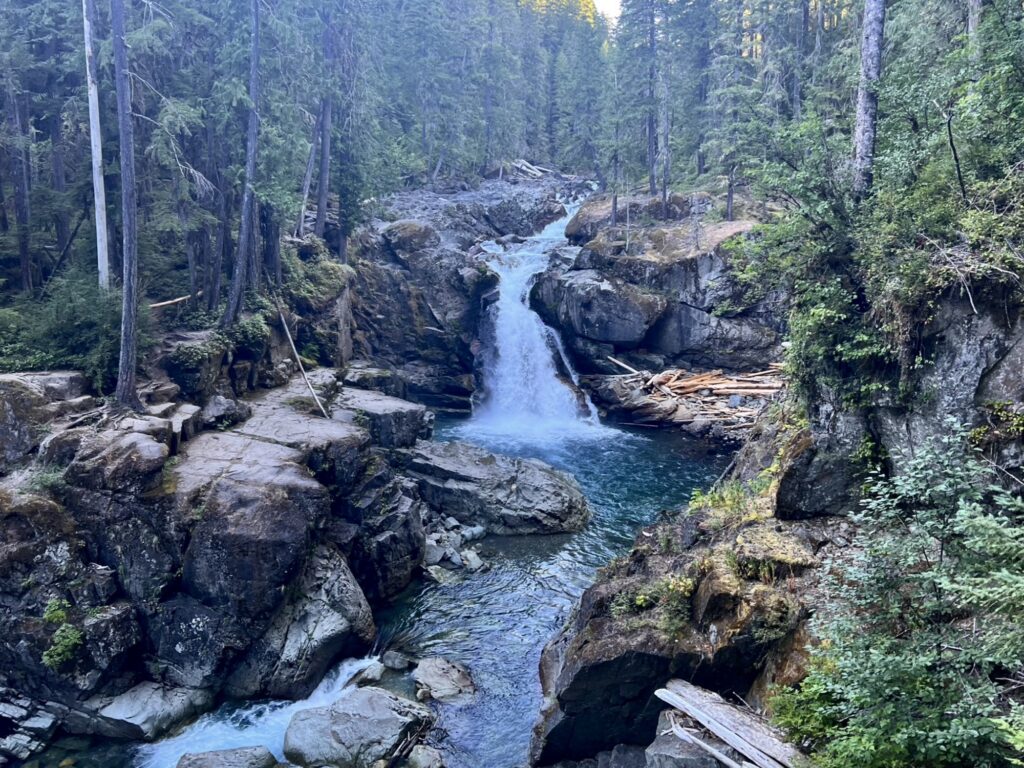
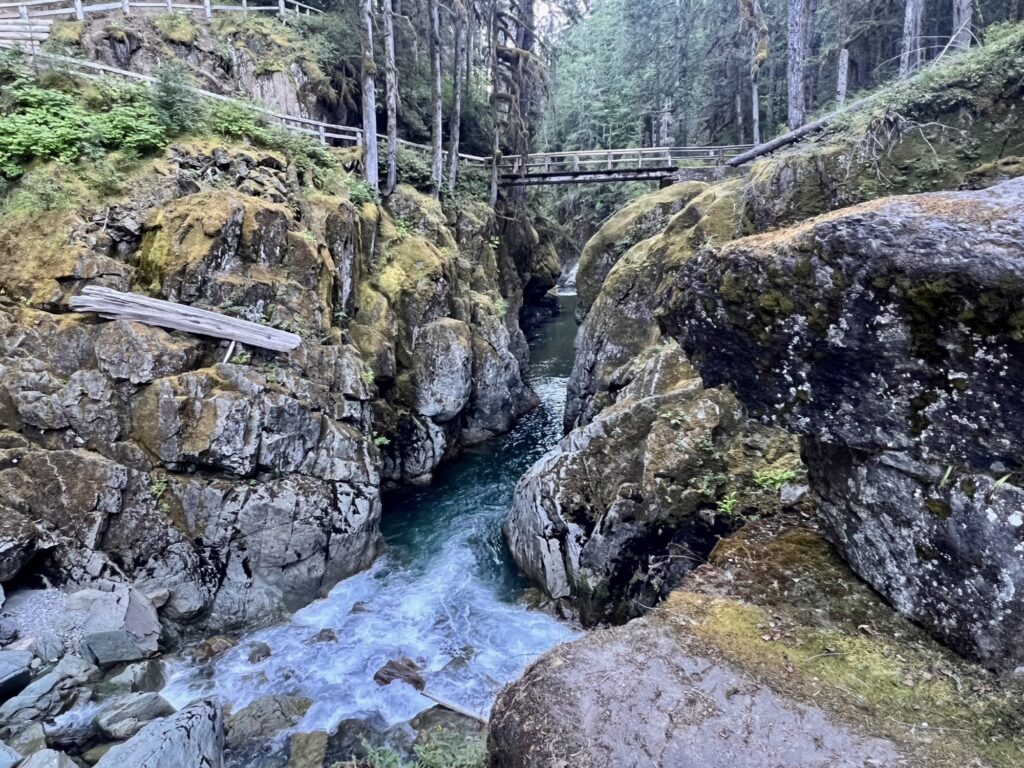
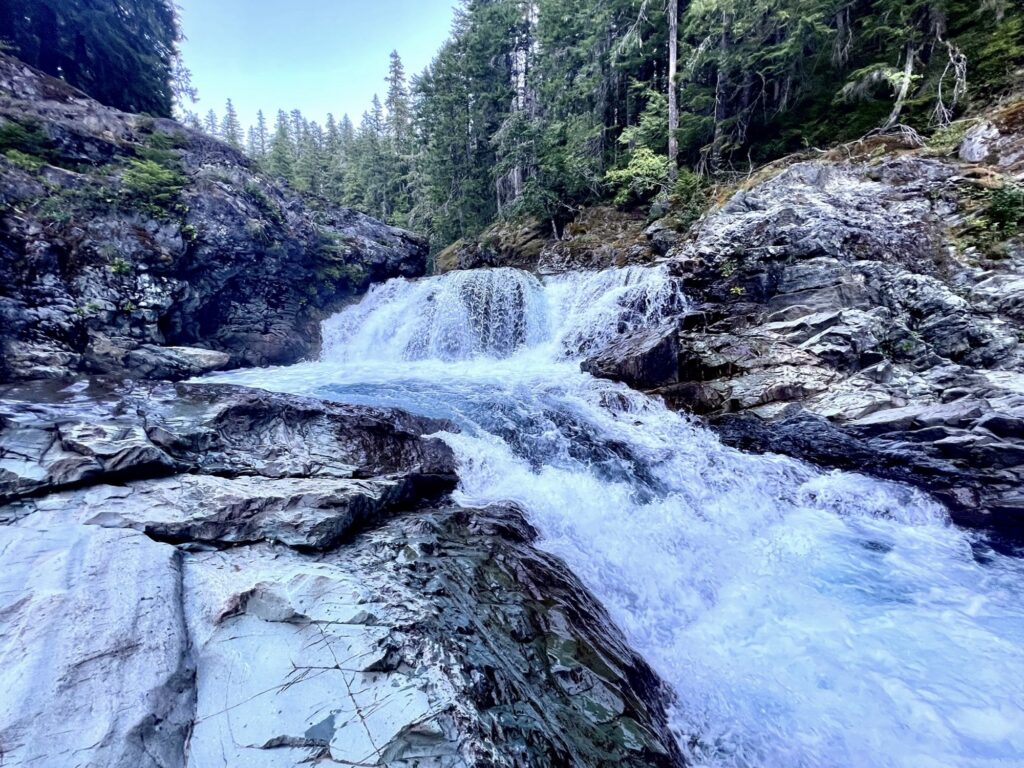
Silver Falls Loop is about 3 miles round-trip with only 521 feet of elevation gain. When I did this trail, I camped at Ohanapecosh Campground, which I mentioned at the beginning of this post. I completed this loop by going counterclockwise. Less than a mile into the trail you will smell a strong odor of sulfur (gross) and cross over Ohanapecosh Hot Springs. For about the next mile, Ohanapecosh River will parallel you as you meander through the forest until you reach Silver Falls. There are many different vantage points of the falls, and you can climb down on a large rock right in front of it. There is also a trail that splits off from the west side of the loop called Eastside Trail that accesses the north side of Silver Falls. I followed this trail for about a quarter of a mile and was able to see four smaller waterfalls that feed into Silver Falls. The pictures that my phone captured on this hike were extremely blue because I completed this hike during blue hour before the sun set.
union
Union Creek Falls
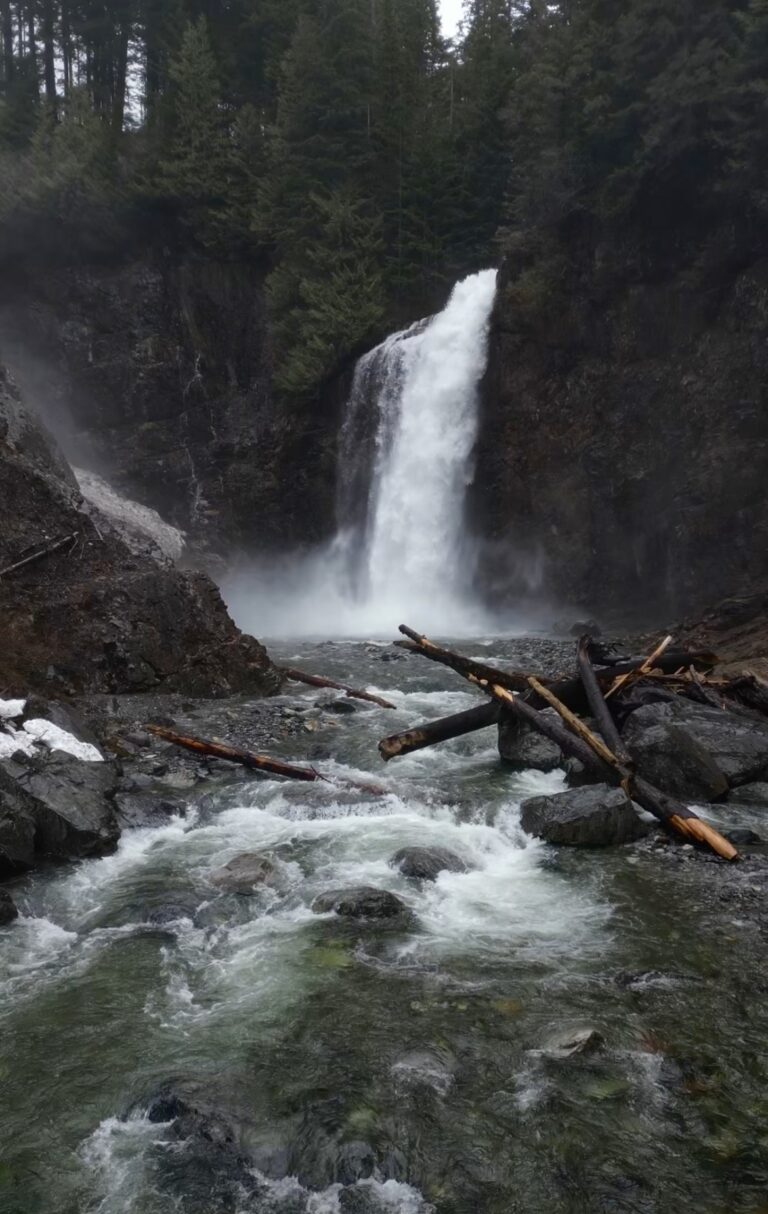
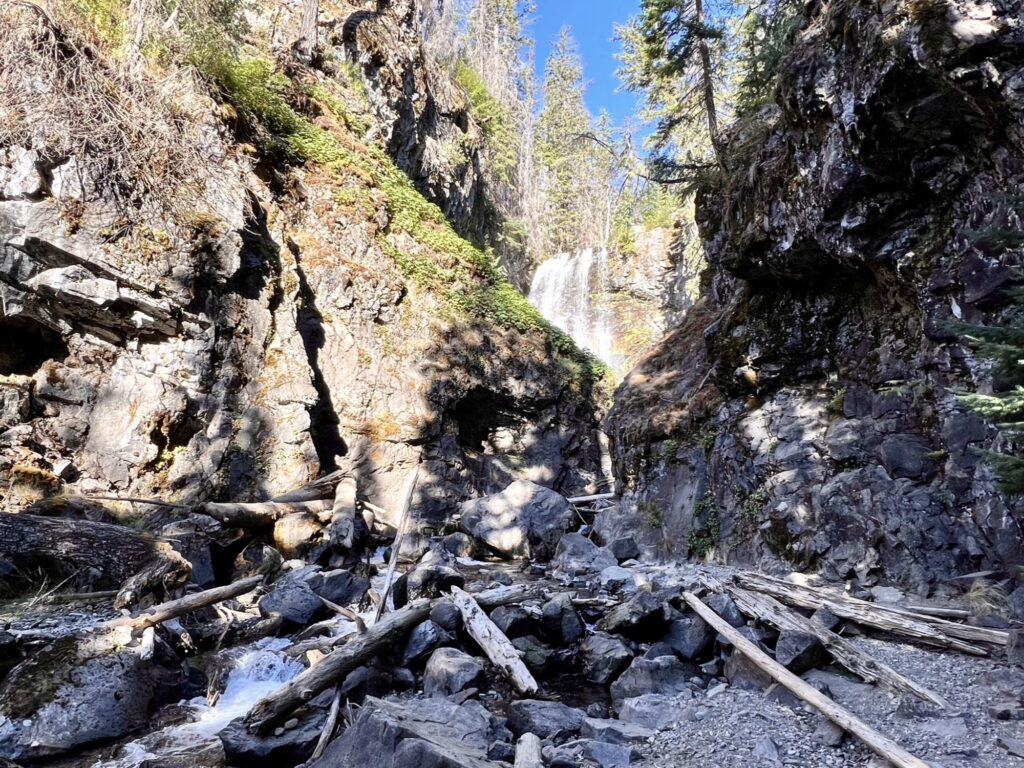
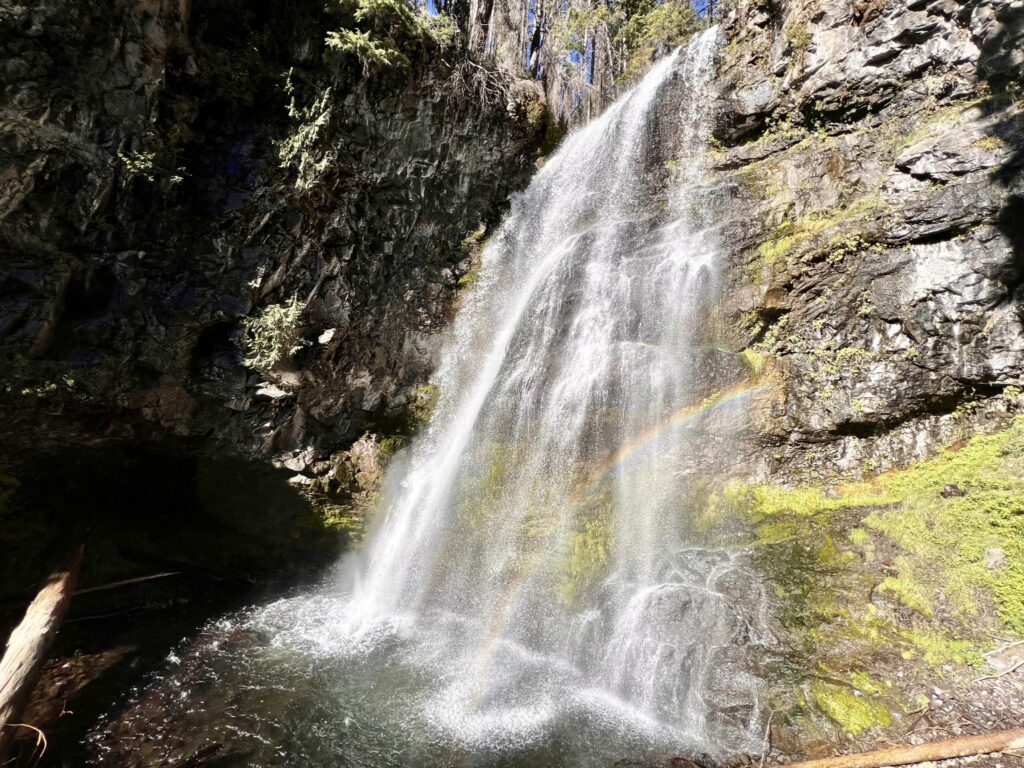
Union Creek Falls is an extremely short 0.5-mile hike from the parking lot. The trail does continue for another 2 miles past the waterfall, but I read that it is washed out in certain sections and is difficult to complete. I intended to complete the whole trail the day I hiked to Union Creek Falls, but I had seen a pile of bear poop near the falls and decided not to continue further. I was completely alone on the trail and no one else was parked in the parking lot, so I didn’t feel safe continuing on my own. Even though my visit here was short, Union Creek Falls was still a sight to behold. After you climb up a hill about 0.25 miles into the trail, there will be two trails splitting off the main trail going down the hill to the falls on your left-hand side. I climbed down the second trail because I wanted to get as close to the falls as possible.
Note for the reader: I share these locations so that others can see beautiful places and enjoy nature as much as I do. Please be respectful of the outdoors and what condition it is in when you visit. Don’t go off trail, leave no trace, and pack out what you came in with.
